Air purifiers have become essential in the battle for good air quality in our homes. With so many pollutants in the air like dust, pollen, dander, bacteria and viruses, wildfire smoke and traffic pollution, to name a few, your home could be negatively affecting your health without you even knowing. That’s where air purifiers come in.
The price is one of the biggest turn-offs of buying an air purifier. Ranging from <$50 up to >$1000, it’s money out of your pocket on a device that does one thing, and you can’t even see it working.
Even if money isn’t the issue, what do you do when smoke fills your home when wildfire suddenly rips through your town, state, or even blown from another country altogether, and you need a quick solution so your health isn’t at risk?
An air purifier is a fan (which most of us will already have in our homes) plus a filter. With all the engineering that goes into manufacturing air purifiers, can you make your own DIY unit? Will it be cheaper? And most importantly, will it be as effective as a store-bought purifier?
In this guide, we answer those burning questions by building our own DIY air purifier.
Stay tuned, and wish me luck. 🤞
Don’t worry; you won’t need a clean room laboratory, specialty tools or a master’s in engineering to make your own DIY air purifier. All you need are a few items you could find either lying around your home or down at your local hardware store and a little aptitude:
| ✔️ BOX FAN |  |
| ✔️ MERV 13 FILTER | 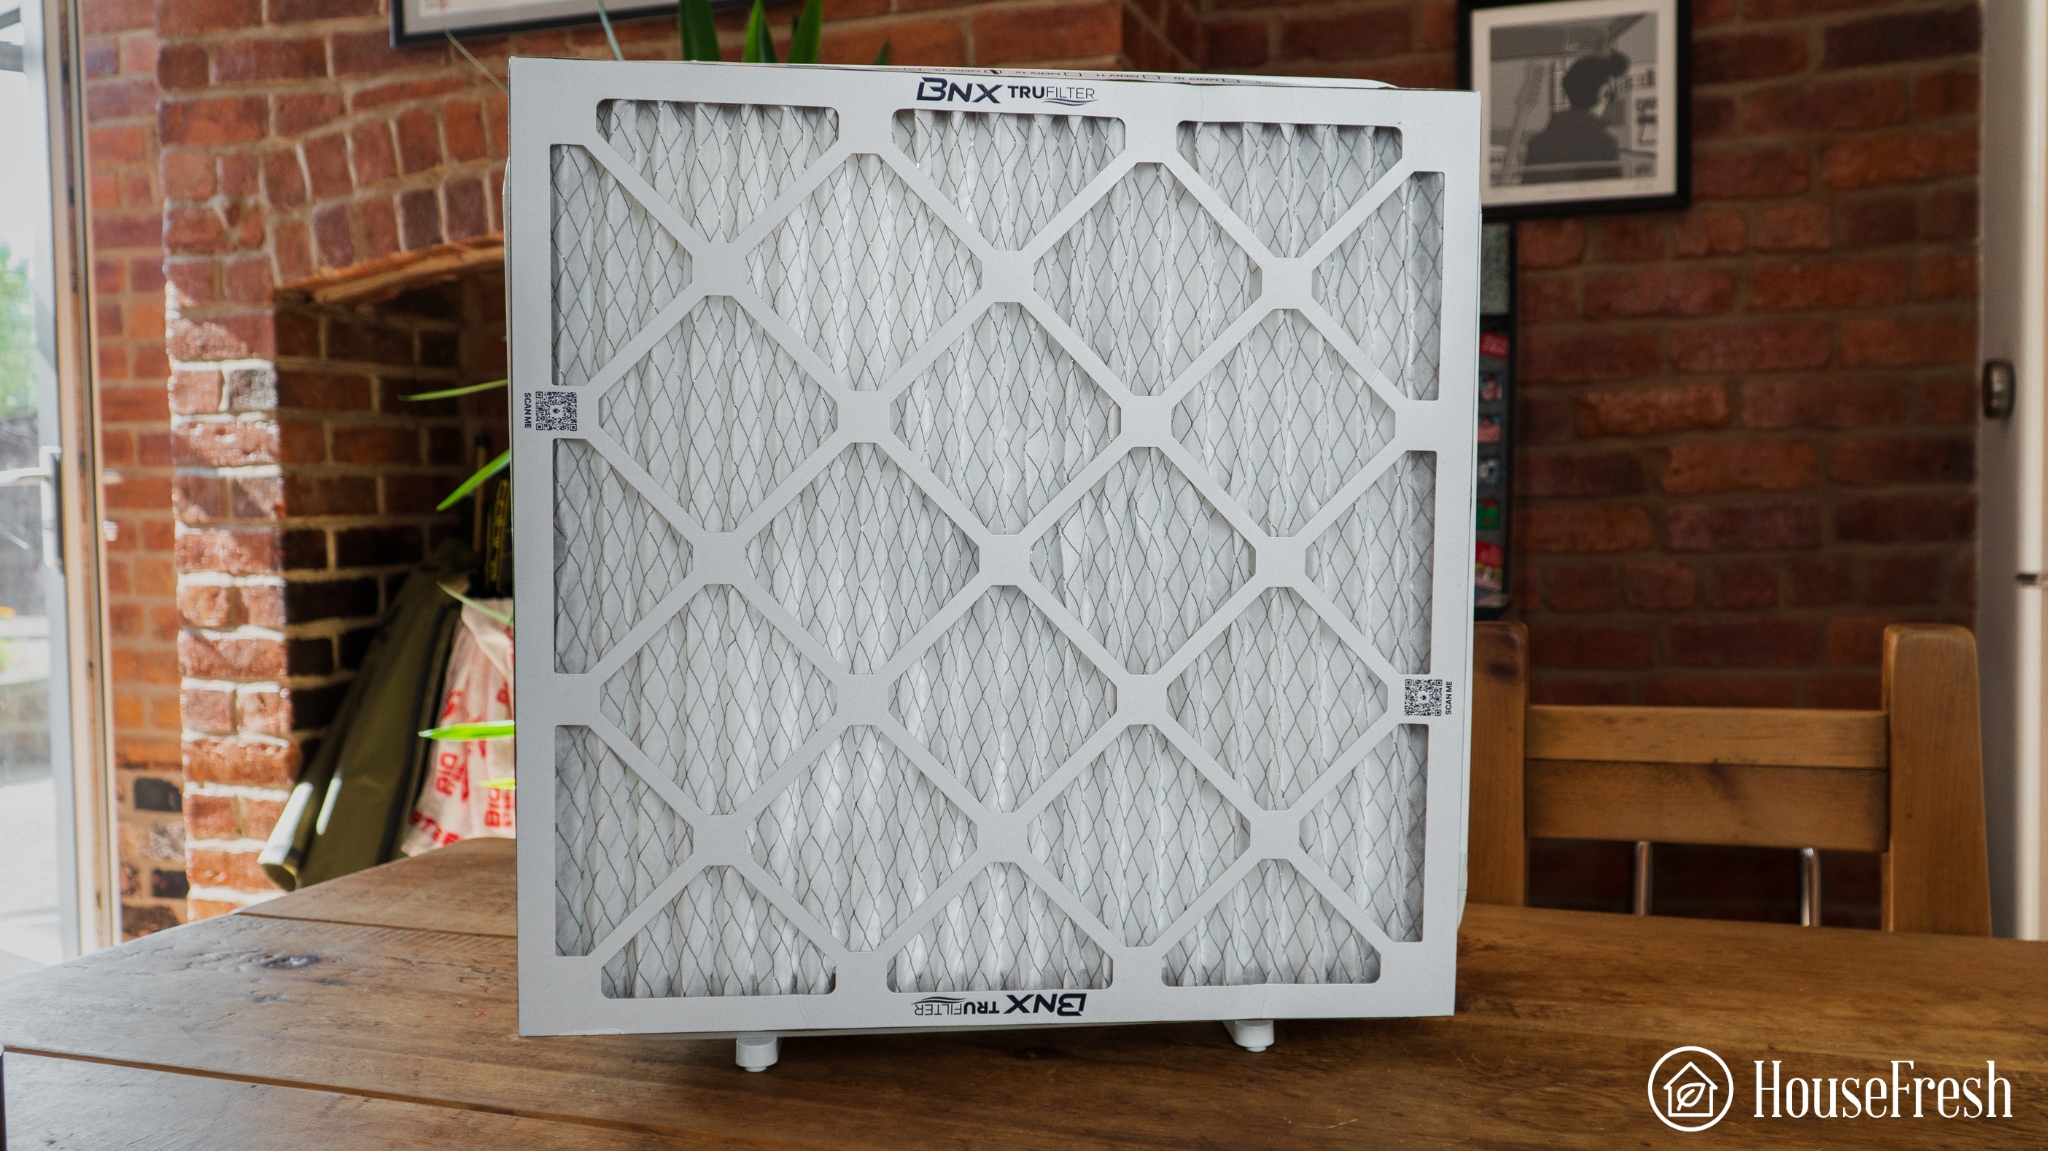 |
| ✔️ STRONG TAPE |  |
| ✔️ SCISSORS |  |
| ✔️ SCREWDRIVER |  |
How to build your DIY air purifier
Okay, I’m not gonna lie to you; this is the first time I’ve attempted to build my own air purifier, but I’ve used them (and taken them apart) for our reviews for a while now, so I have a firm grasp on how they work.
On that note, let’s delve in and build ourselves an air purifier.
Step 1: Buy your materials

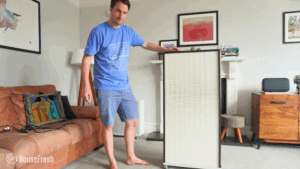
This is the easy part; I went to Amazon.com to find my materials so you can get the same fan and MERV 13 filter and follow this guide step-by-step with me. For the fan, I went for this unit from Hurricane as it was a good size, had good reviews and didn’t look too tricky to take apart. For the filter, I went with a BNX TruFilter 20x20x1 as you can see below:

You may have a few spare filters hanging around for the HVAC system in your home.
The primary consideration before you purchase is the size of the filter. You need a filter covering the whole fan, but not so big that it sticks over the sides.
The worst thing that can happen is that you put everything together, turn on the fan and it doesn’t work, or find a big hole in the filter that lets all those harmful particles through, rendering your hard work useless.
Unpack all your materials, check them and test them before you do anything else.
Step 2: Remove the fan speed dial
You need to remove the dial for two reasons:
- So you can remove the grill easily.
- So it doesn’t create a gap in the filter.

Before pulling the dial away, ensure it is set to the fan’s highest speed. This way, turning your DIY air purifier on will be set to its most effective speed. With The Hurricane, pulling the dial straight off using my hands was easy, but with other fans, you may need some pliers to grip and remove them.

Step 3: Remove the front grate from your fan
This is where the fun begins. Firstly, make sure your fan isn’t plugged in before you start.

With some fans, you’ll find that the grill is permanently attached to the unit; you may have to purchase some tinsnips. I would advise wearing goggles if it’s made of plastic, as plastic tends to fly when cut.
Another reason I went for the Hurricane fan is because it has a removable grill. You simply have to remove a screw at the bottom of the unit and slide the grill out.

Remember this golden rule when deconstructing anything, if you start pulling things apart that you don’t want to be, you’re likely to damage it and maybe even yourself.
Step 4: Attach the filter to the fan
With the hard part over with, now you just need to attach the MERV 13 filter to the front of the fan where the grill used to be.
Because I did my measurements first, the filter I purchased fits perfectly over the fan with no overhang.

Before attaching the filter, you must double-check that there are no gaps where particles can escape into the air.

After those final checks, you can attach the filter to the fan. I used duct tape around different points of the fan as it’s durable and easily removed if you make a mistake, but feel free to use whatever you like, as long as it keeps the filter tightly attached and doesn’t leave any gaps.

Step 5: Turn on your DIY air purifier and enjoy your clean air
If you’ve followed our guide correctly, your DIY air purifier should fire up immediately on its highest speed setting. It may not look like the prettiest unit on the block like the Smart Air S or have any cool smart features like the Mila, but hey, you made it and you’ve saved yourself a bundle.

I will name it… TeddAir Max!
The TeddAir Max cleared our test room in 84 minutes
Just because I put this air purifier together doesn’t mean it can escape our performance testing room. To see if our TeddAir Max affects air quality, we wanted to put it through the same rigorous tests we subject to all the other units we review.

Our TeddAir Max air purifier cleared the simulated contaminants (incense smoke) from our performance testing room in 84 minutes. Even though it’s stuck together with tape, its performance was fair. It may not have outperformed units like the Alen BreatheSmart Flex, Smart Air S, Levoit Core 600S, Mila or the Blueair Blue Pure 311 Auto, which are all a similar size.
Still, it did clear all our simulated pollutants from the air at the same time as the Dyson PH04 (a unit that costs around $750!)
By putting the unit through this performance test, we can also estimate a CADR (Clean Air Delivery Rate). We calculate its CADR to be around 90 CFM (Cubic Feet per Minute) which (if it was a manufactured unit) isn’t great for the size of the fan and HEPA.
| Air Purifier | Time To Clean Our Test Room |
|---|---|
Levoit Core 600S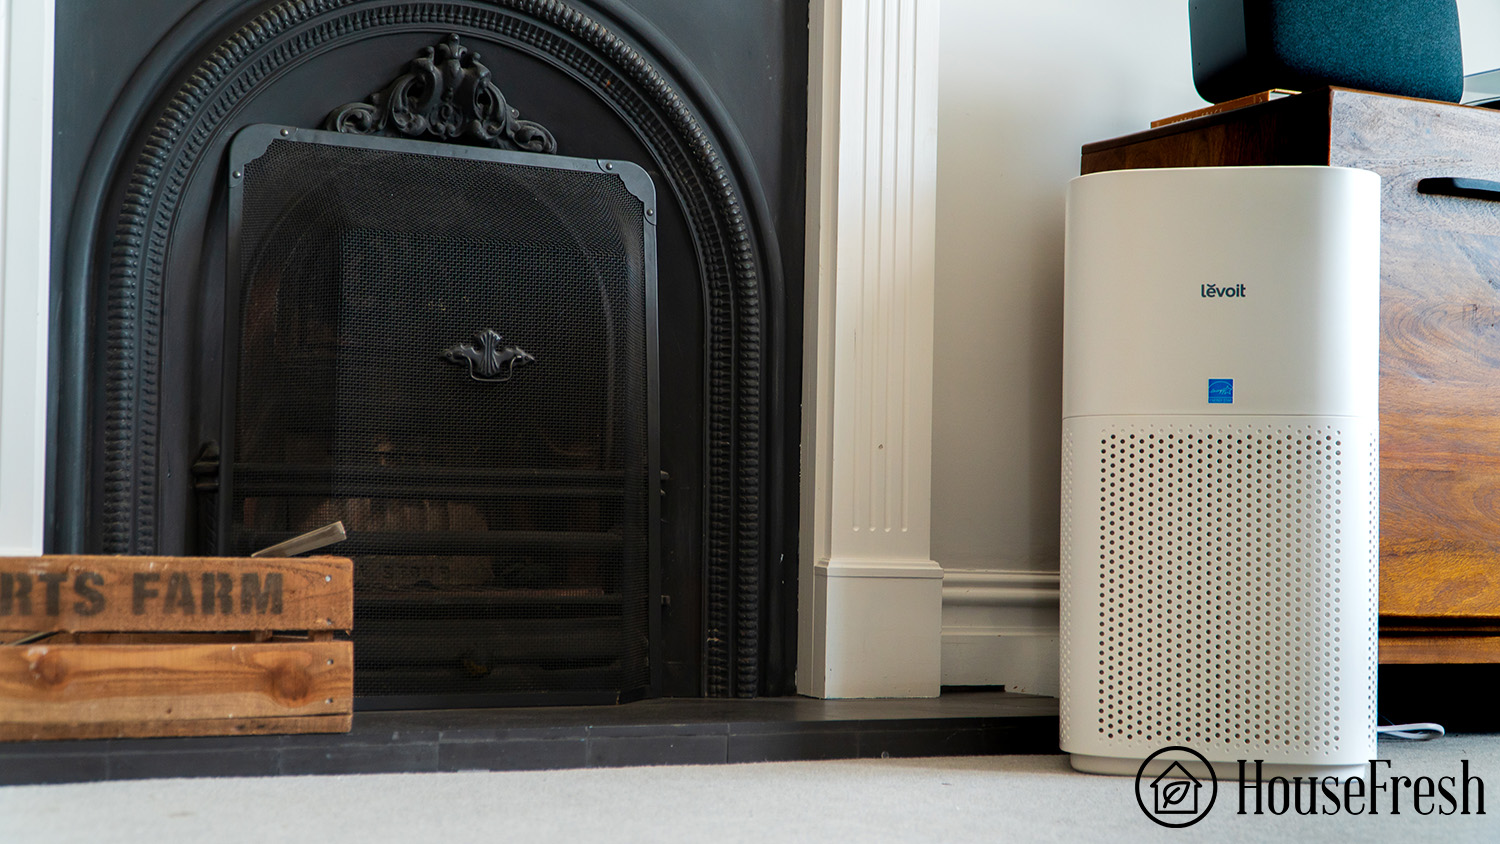 | 15 minutes |
Blueair Blue Pure 311 Auto | 21 minutes |
Smart Air S | 29 minutes |
Alen BreatheSmart Flex | 34 minutes |
Shark HP102 | 38 minutes |
Levoit Core 300 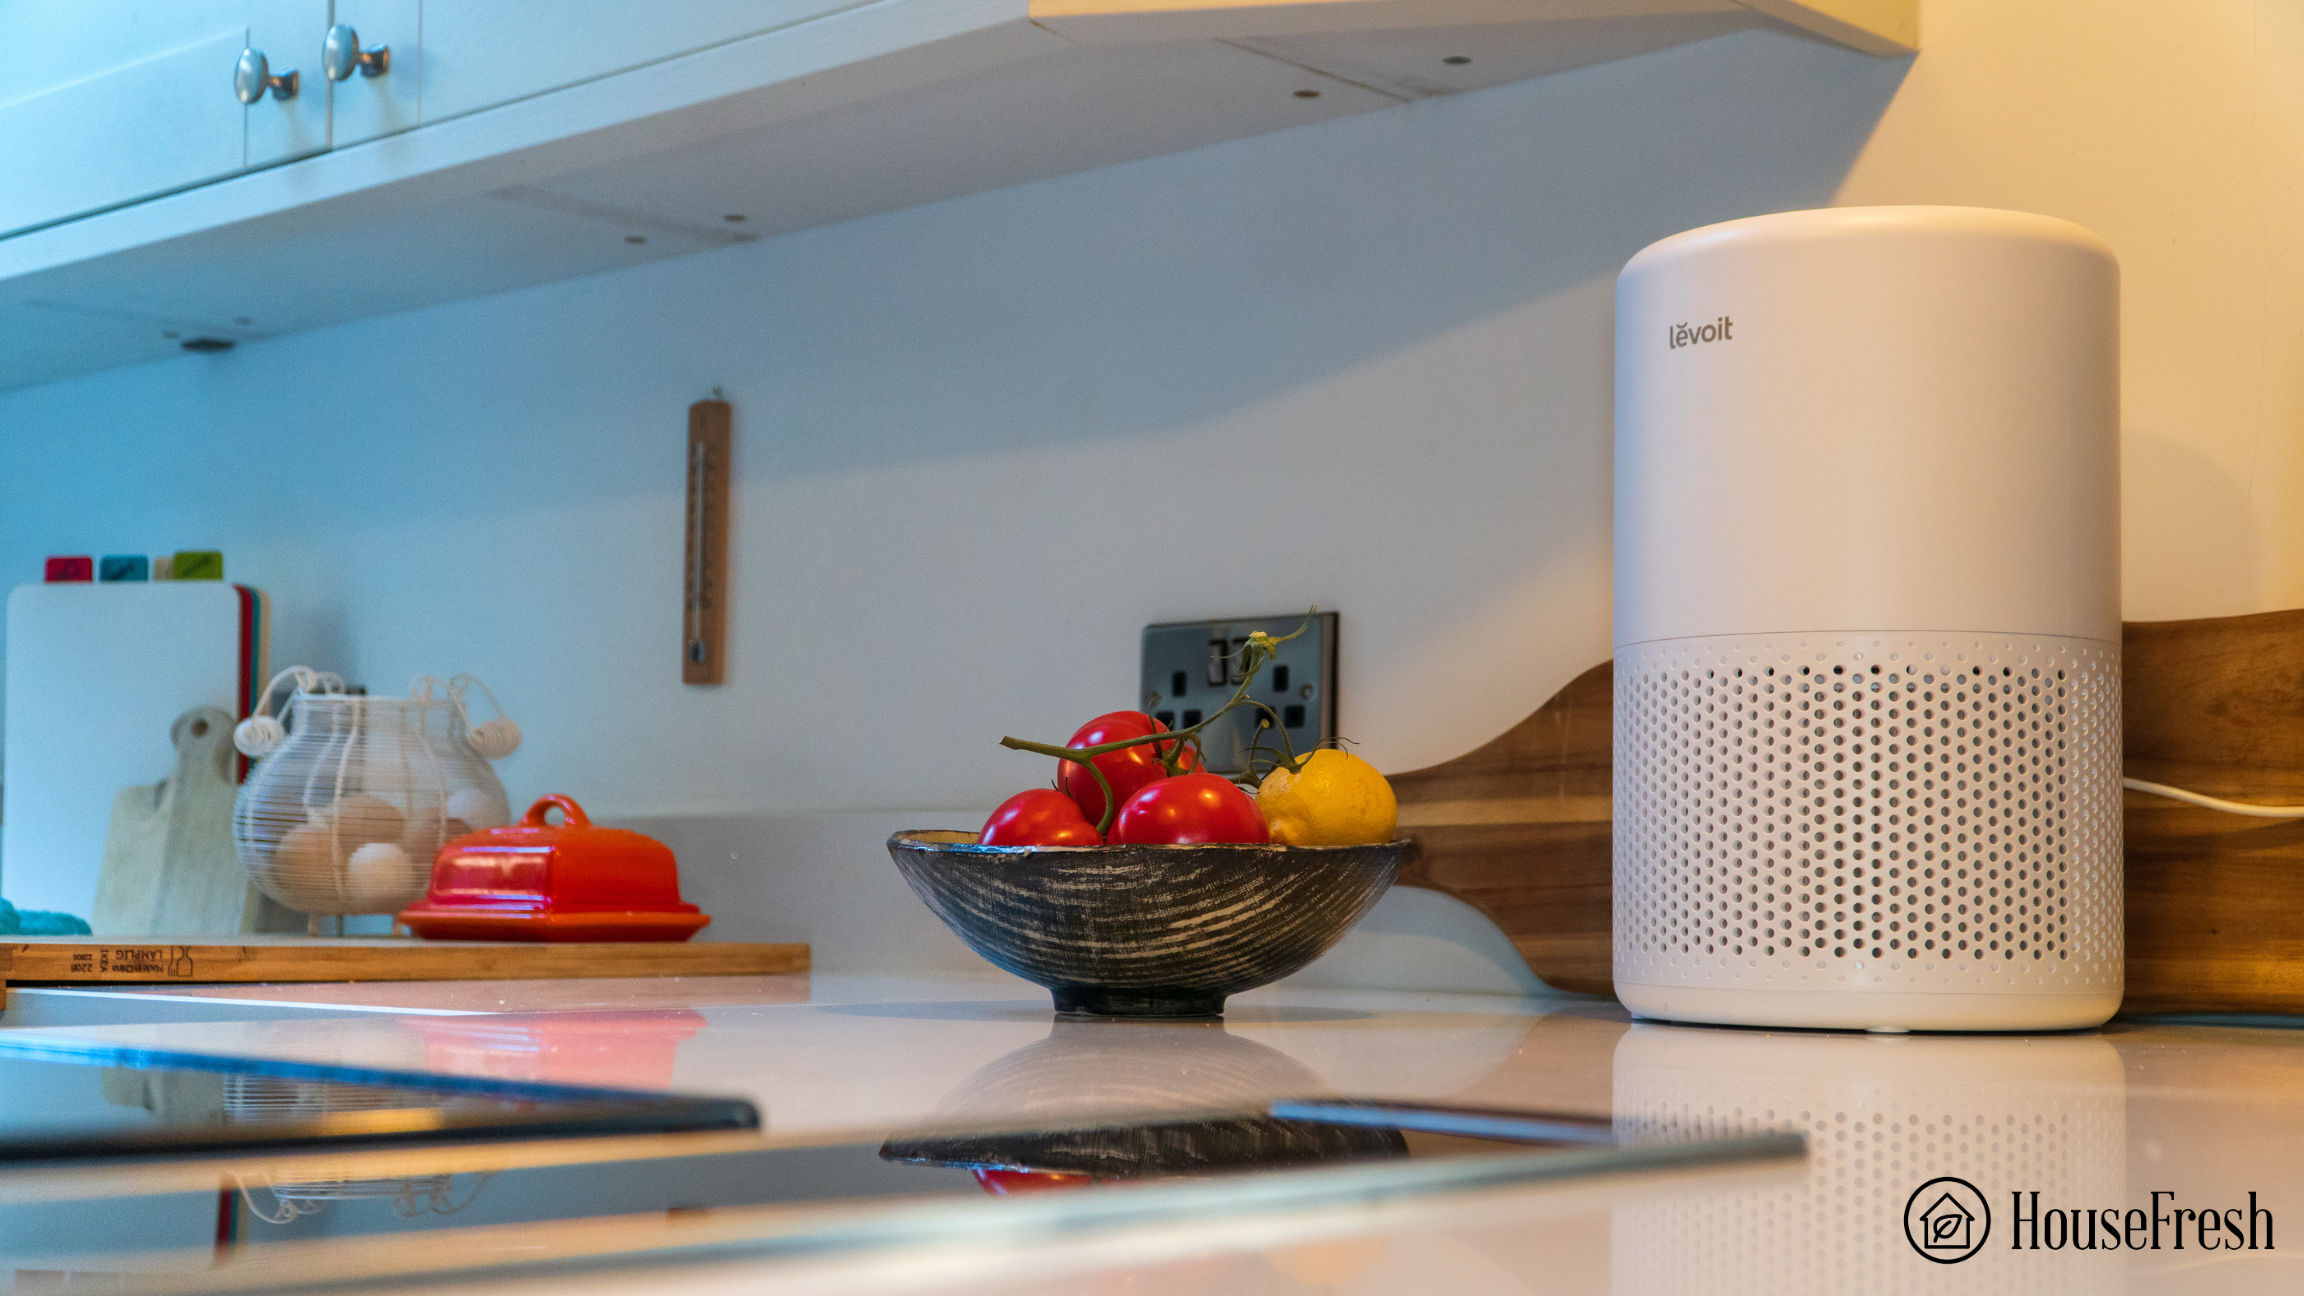 | 40 minutes |
Dyson HP04 | 84 minutes |
TeddAir Max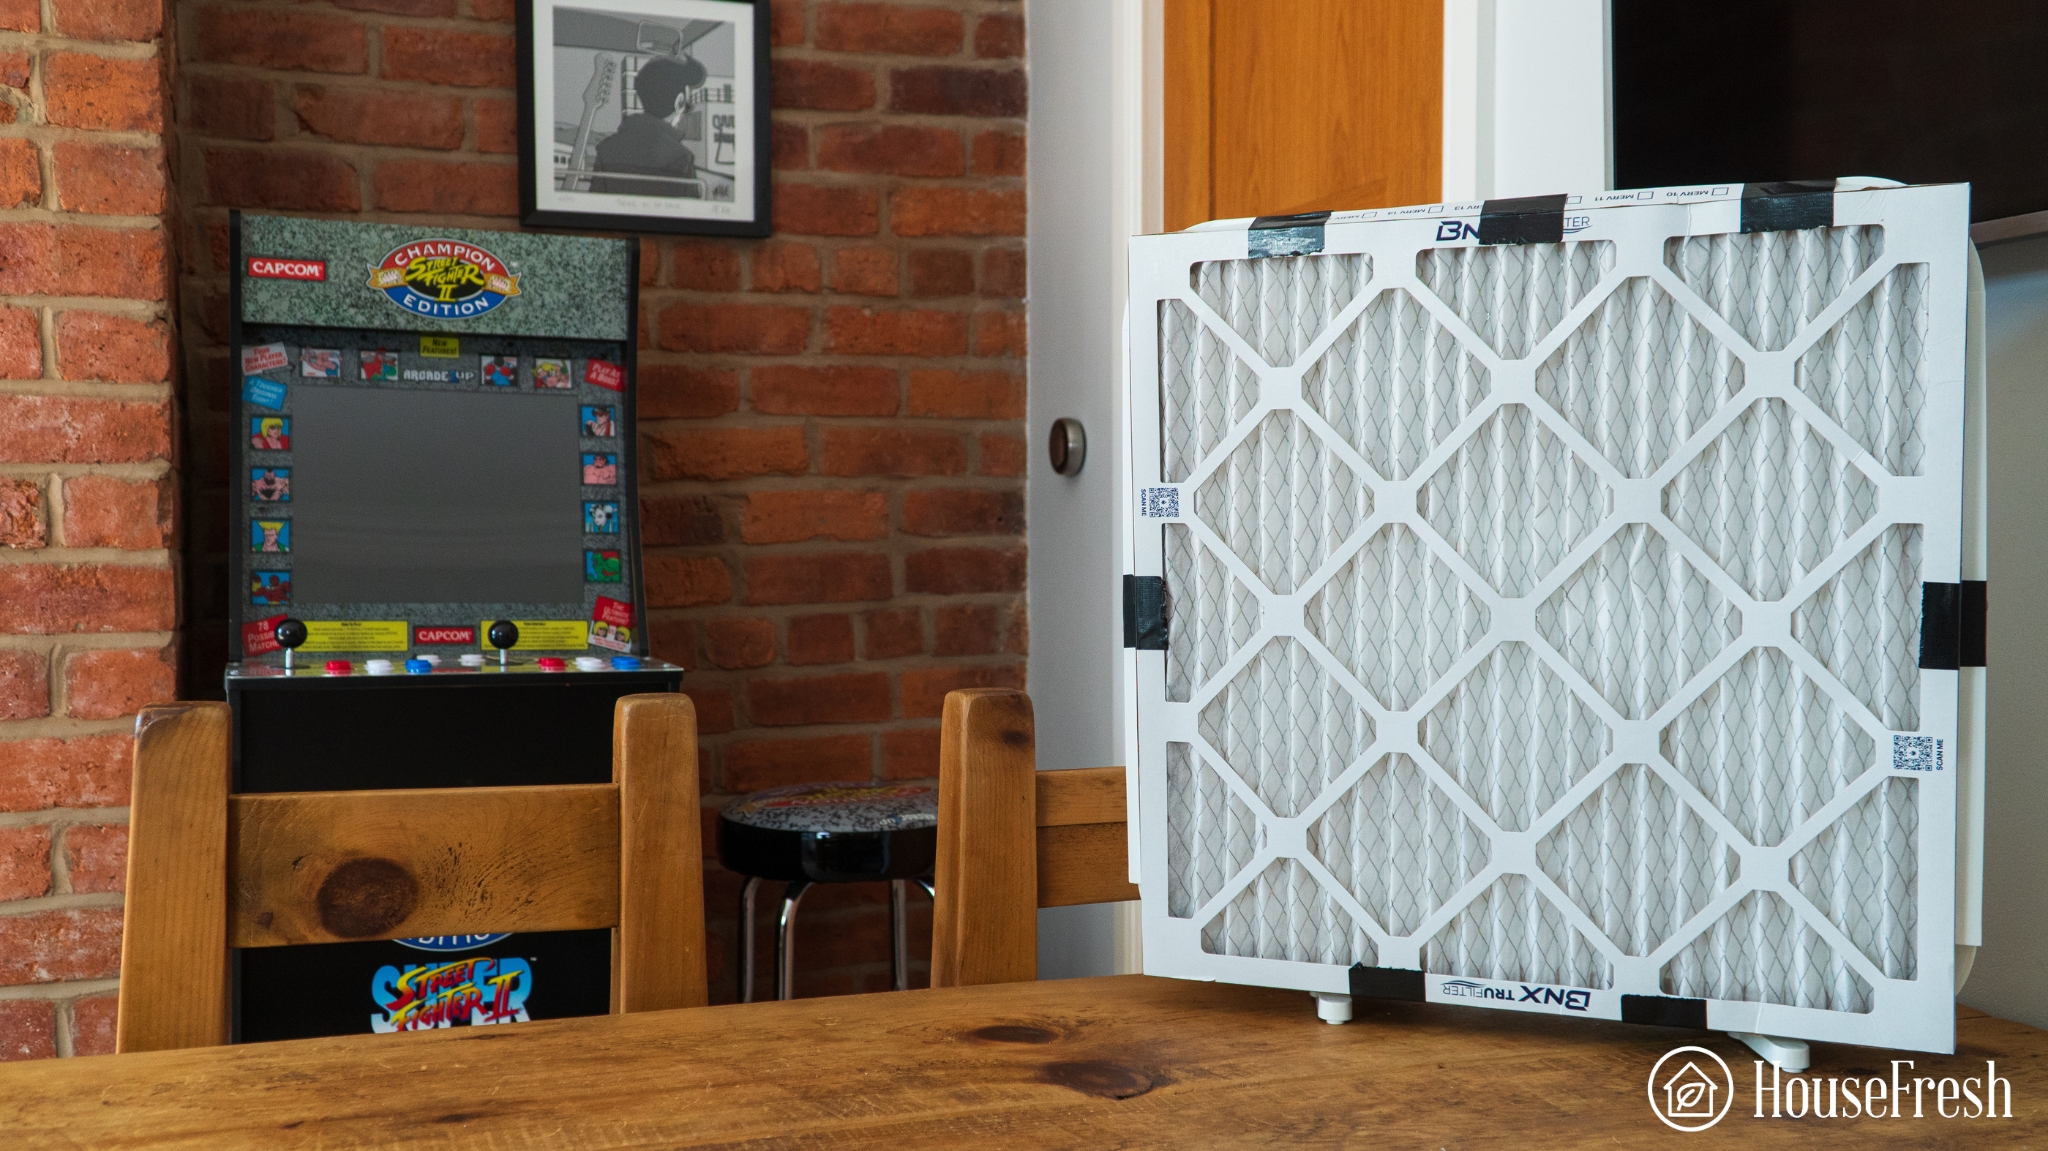 | 84 minutes |
One issue I did find while testing was the noise. Because we removed the speed dial from the fan, it’s stuck on max speed, which is, unfortunately, pretty noisy.
Final thoughts
It may not be the most stylish-looking air purifier or the most efficient, but it shows that instead of spending hundreds of dollars on a unit, you can simply make your own at a fraction of the cost.
It’s not just about price; more and more areas in the U.S. are being affected by wildfire smoke, which can travel at an alarming rate, leaving you no time to get online to order an air purifier. You can assemble these components as a first-response action to protect yourself and your family.
There are no extra features like an auto mode, air quality sensors or an app to control your unit, but an air purifier in its purest form is still an air purifier.
At the end of the day, it’s a fan and a filter and this is the message the folks at Smart Air are trying to get across with their range of units that boast high efficiency over extra functions. And as we know from our air purifier reviews, more expensive doesn’t necessarily mean better.