Based in Austin, Texas, the Alen Corporation is one of the most trusted producers of high-quality air purifiers. We’ve long been fans of their units, including the BreatheSmart 75i for large spaces and the BreatheSmart 45i for smaller rooms. There’s also the a350 which is sadly no longer for sale, although you can still buy their filter replacements.
However, Alen units don’t always work perfectly, as with all mechanical devices. But the good news is that most problems can be easily solved. We’ll give you top tips on how to fix the most common issues, such as what to do if the red light won’t turn off.
You’ll also find guidance about the correct power supply and ideal room size for each unit and how to contact Alen directly when all else fails.
Problem 1: My Alen Air Purifier Won’t Turn On
There can be many reasons your purifier won’t turn on. Be sure to check for the following:
❓ Is the cord plugged in correctly?
Ensure this is plugged in well and that you use the right outlet.
❓ Is the power cord faulty?
If this is the case, you will need to replace it. You should be able to buy this direct from the Alen website.
❓ Is there a blown fuse?
If the fuse is blown, it will need to be replaced. It’s possible to do this yourself, but we recommend contacting customer support on the Alen website for guidance.
❓ Is there a problem with the wall socket?
There may not be any issues with your unit; the wall socket might be the problem. Try plugging the purifier into another outlet; hopefully, this should work.
❓ Is the power rating correct?
Be sure to check that the power rating of your unit is the same as your wall socket. If not, your cleaner won’t turn on.
Check using our handy table below:
| Air Purifier | Power Supply | Rated Power |
| Alen BreatheSmart 75i True HEPA | 120 AV, 60HZ (3 Prong Power Cord) | 1.8 to 45 watts |
| Alen BreatheSmart 45i True HEPA | 120 AV, 60HZ (2 Prong Power Cord) | 1.1 to 50 watts |
| Alen BreatheSmart Classic True HEPA | 120 AV, 60HZ (2 Prong Power Cord) | 1.6 to 105 watts |
| Alen BreatheSmart FIT50 True HEPA | 120 AV, 60HZ (3 Prong Power Cord) | 1.2 to 60 watts |
| Alen BreatheSmart FLEX True HEPA | 120 AV, 60HZ (2 Prong Power Cord) | 0.8 to 50 watts |
| Alen T500 True HEPA Tower Air Purifier | 120 AV, 60HZ (2 Prong Power Cord) | 0.8 to 53 watts |
Note: It’s also possible that you may have accidentally bought the wrong version of the cleaner. For example, the European model won’t work in the U.S.
Problem 2: Air Purification Isn’t Working
❓ Is the room coverage too large?
Using the purifier in a room larger than 300 square feet can lead to persistent poor air quality. Be sure only to use it in the recommended room size.
| Air Purifier | Ideal Room Size in Square Feet | Ideal Room Size in Square Meters |
| Alen BreatheSmart 75i True HEPA | 1,300 | 120.77 |
| Alen BreatheSmart 45i True HEPA | 800 | 74.32 |
| Alen BreatheSmart Classic True HEPA | 1,100 | 102.19 |
| Alen BreatheSmart FIT50 True HEPA | 900 | 83.61 |
| Alen BreatheSmart FLEX True HEPA | 700 | 65.03 |
| Alen T500 True HEPA Tower Air Purifier | 500 | 46.45 |
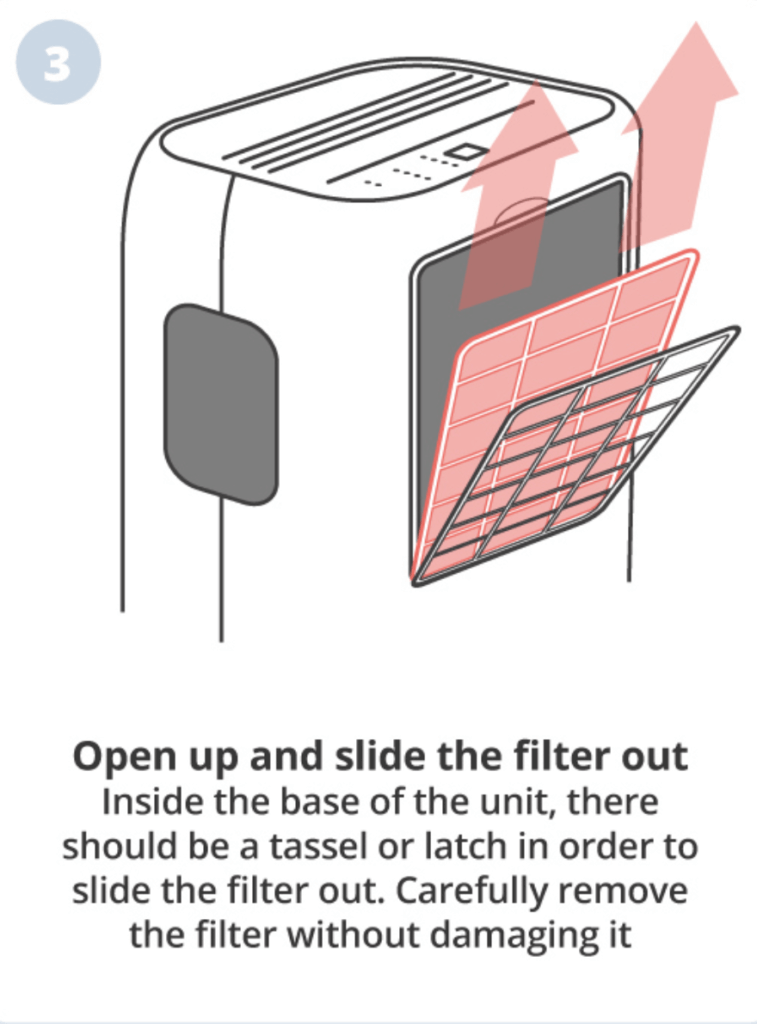
❓Is the filter installed correctly?
To check this, you need to open the unit and ensure the filter is correctly pushed until you hear a clicking sound. This tells you that the filter is in place and your purifier should work as expected.
❓ Is there a lack of clearance?
Reduced airflow can occur if the air intake and outlet are too close to objects. Simply change your purifier’s location to leave more space around it.

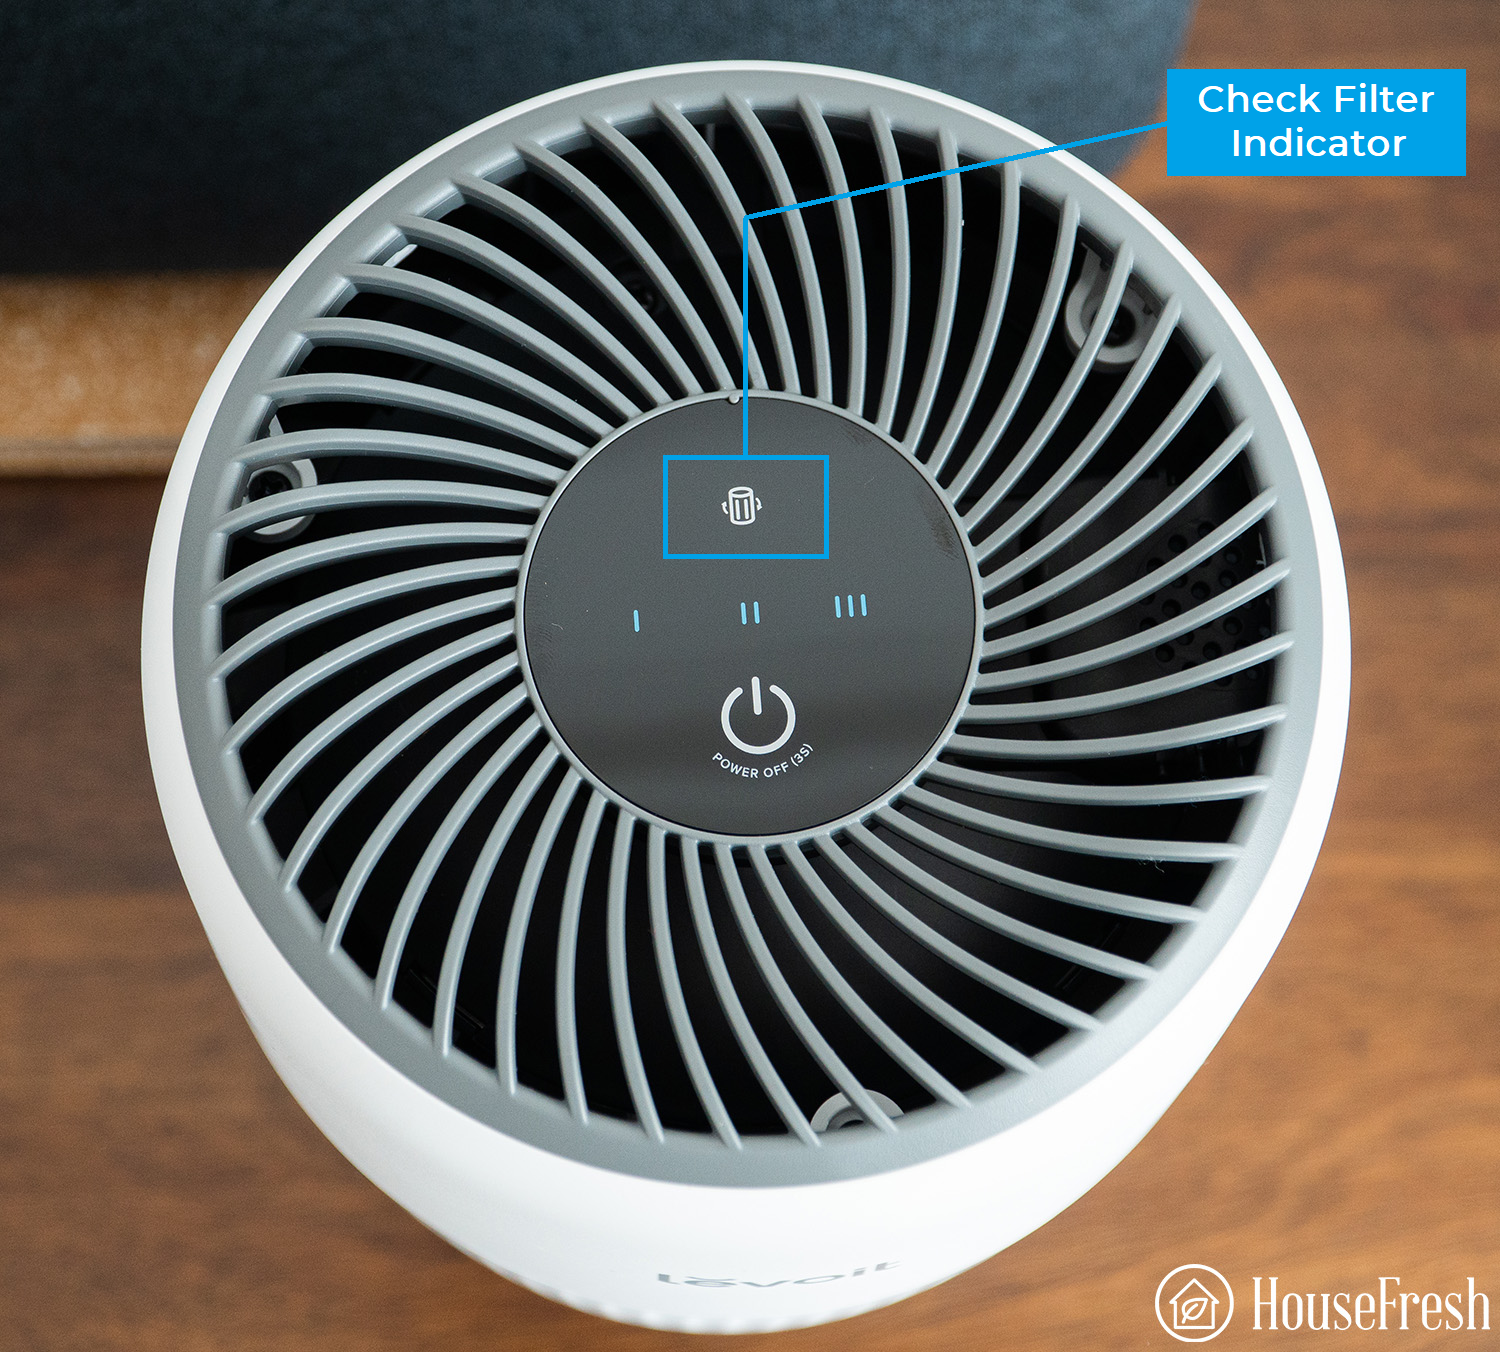
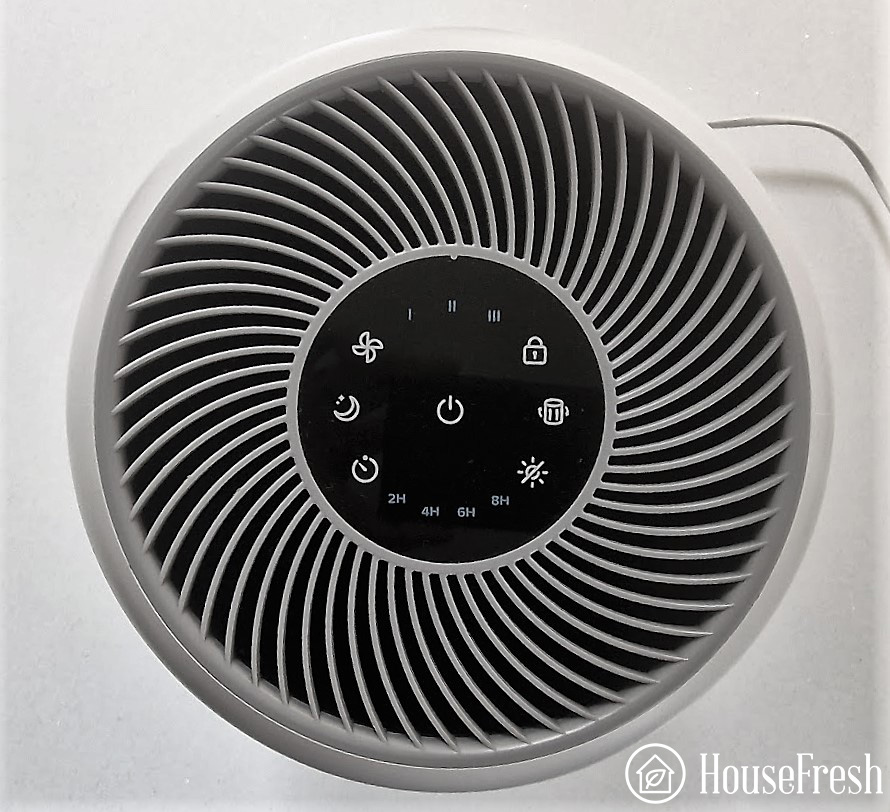
Problem 3: The Red Light Is Always On
A red light often indicates a maintenance issue and is often connected to the purifier’s filter. Let’s take a closer look.
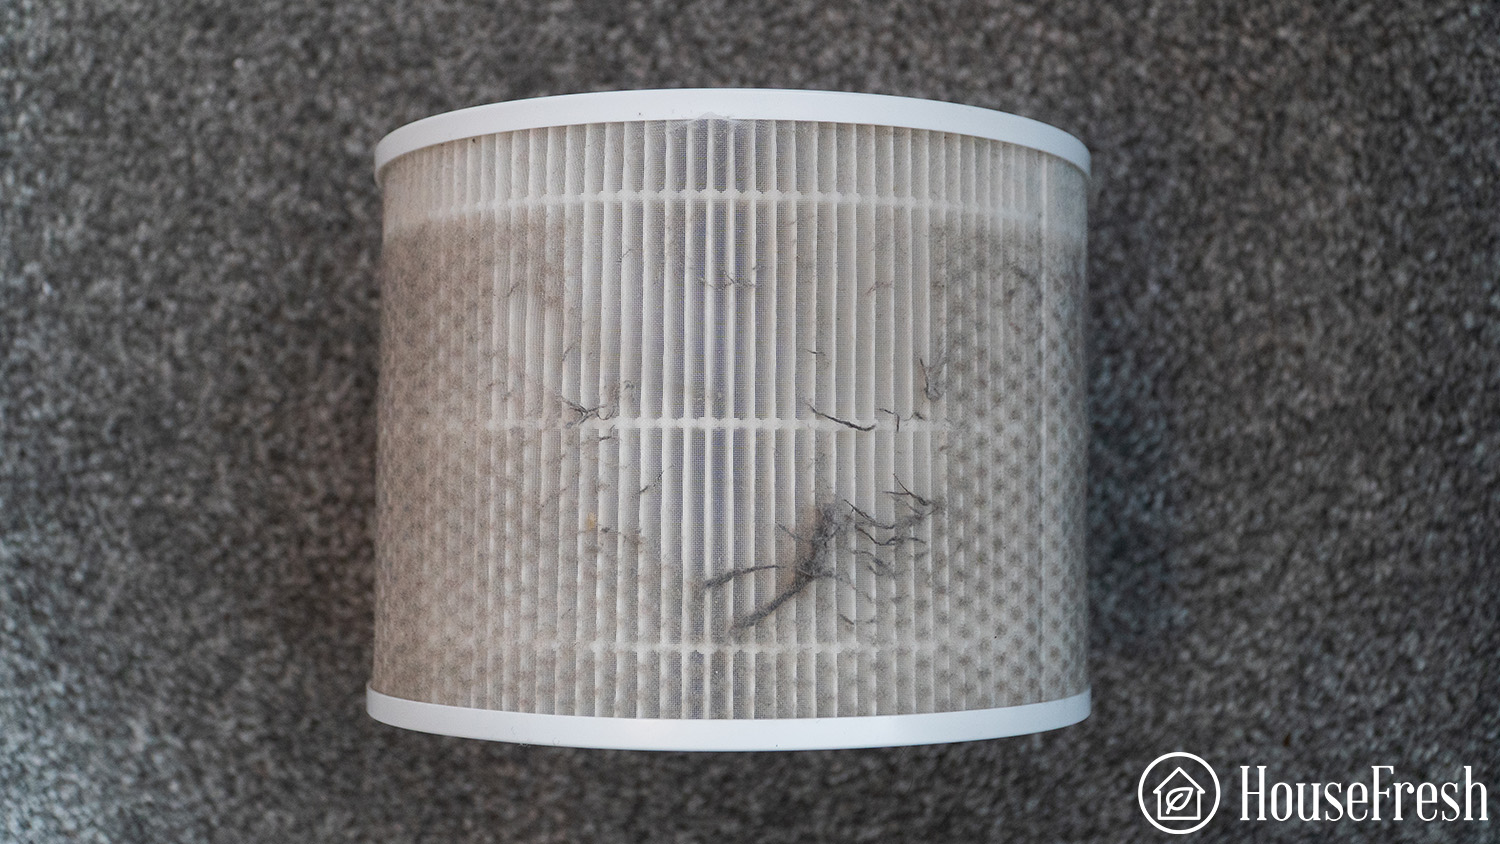
❓ Is it time to replace the filter?
It’s recommended to replace HEPA filters every six months as they can become clogged with debris. Here’s our step-by-step guide on changing the filter for a model such as the Alen BreatheSmart FIT50:
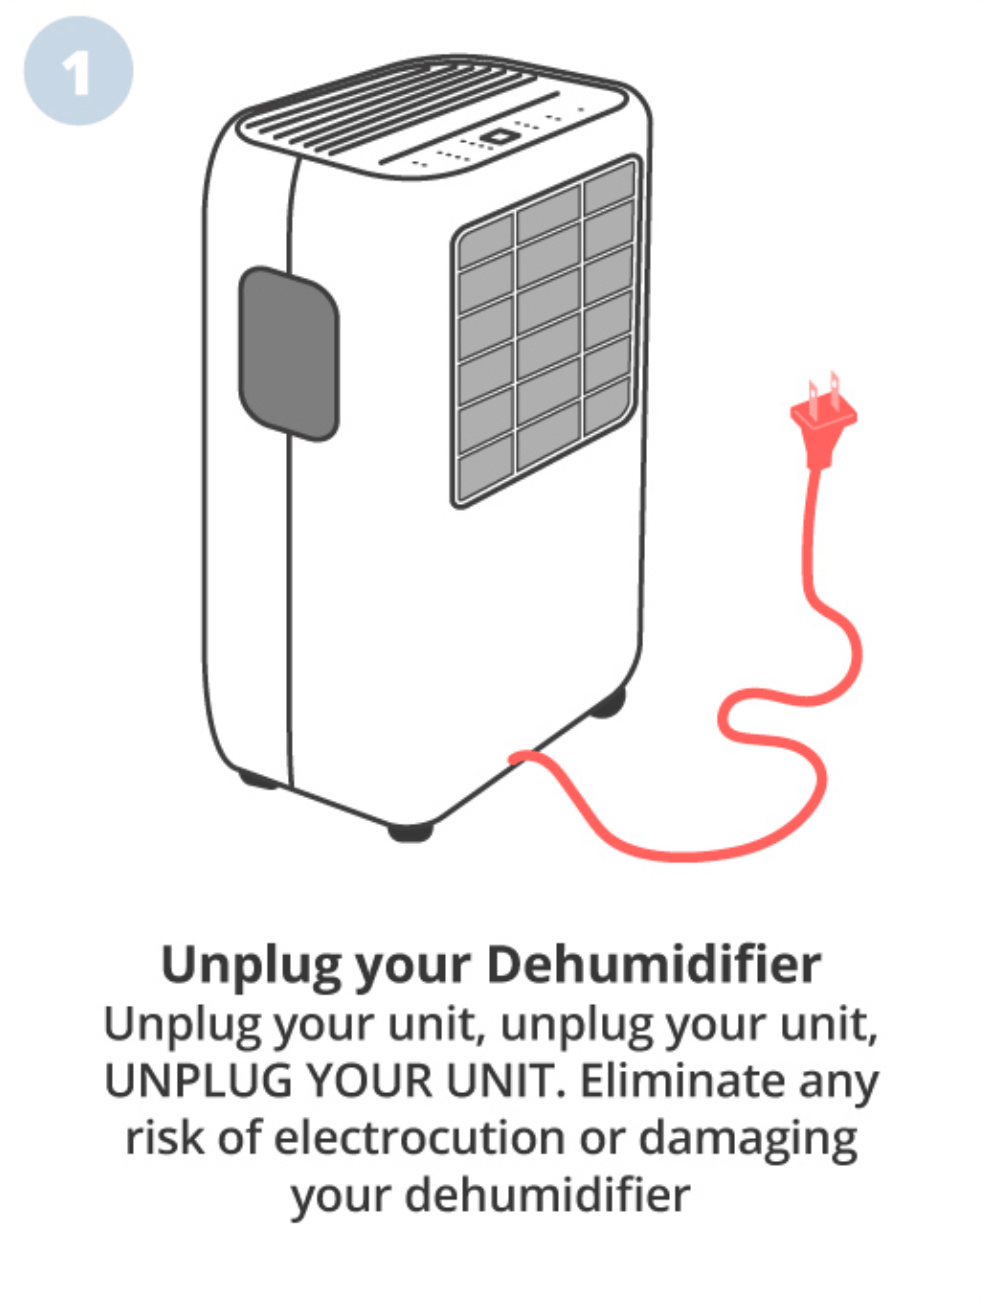
- Make sure your purifier is unplugged.
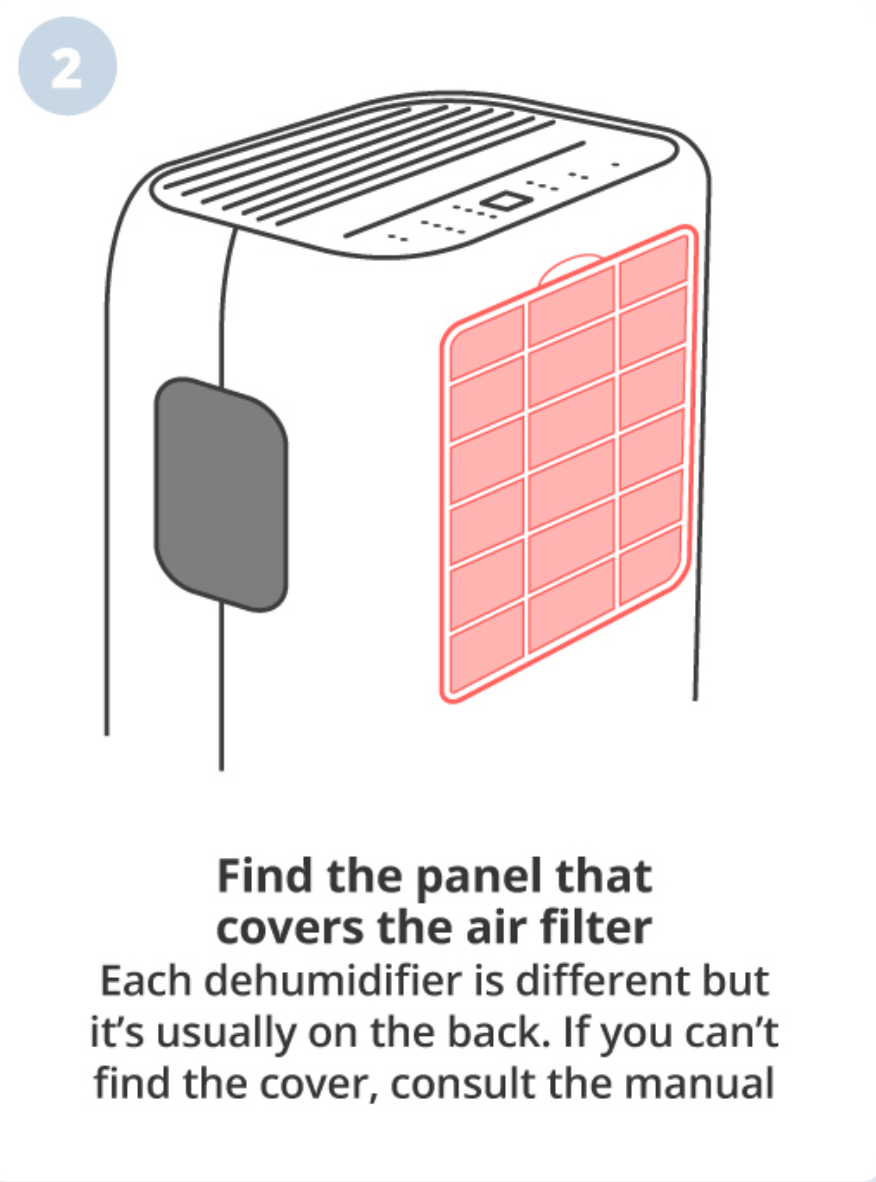
- With both hands, pull on the cover near the intake vents (ensure the unit is upright). This will release the magnets and remove the cover from the unit.
- To remove the used filter, pull the white tab gently. It’s a good idea to place this in a plastic bag as it’ll help to prevent harmful particles from re-entering the air.
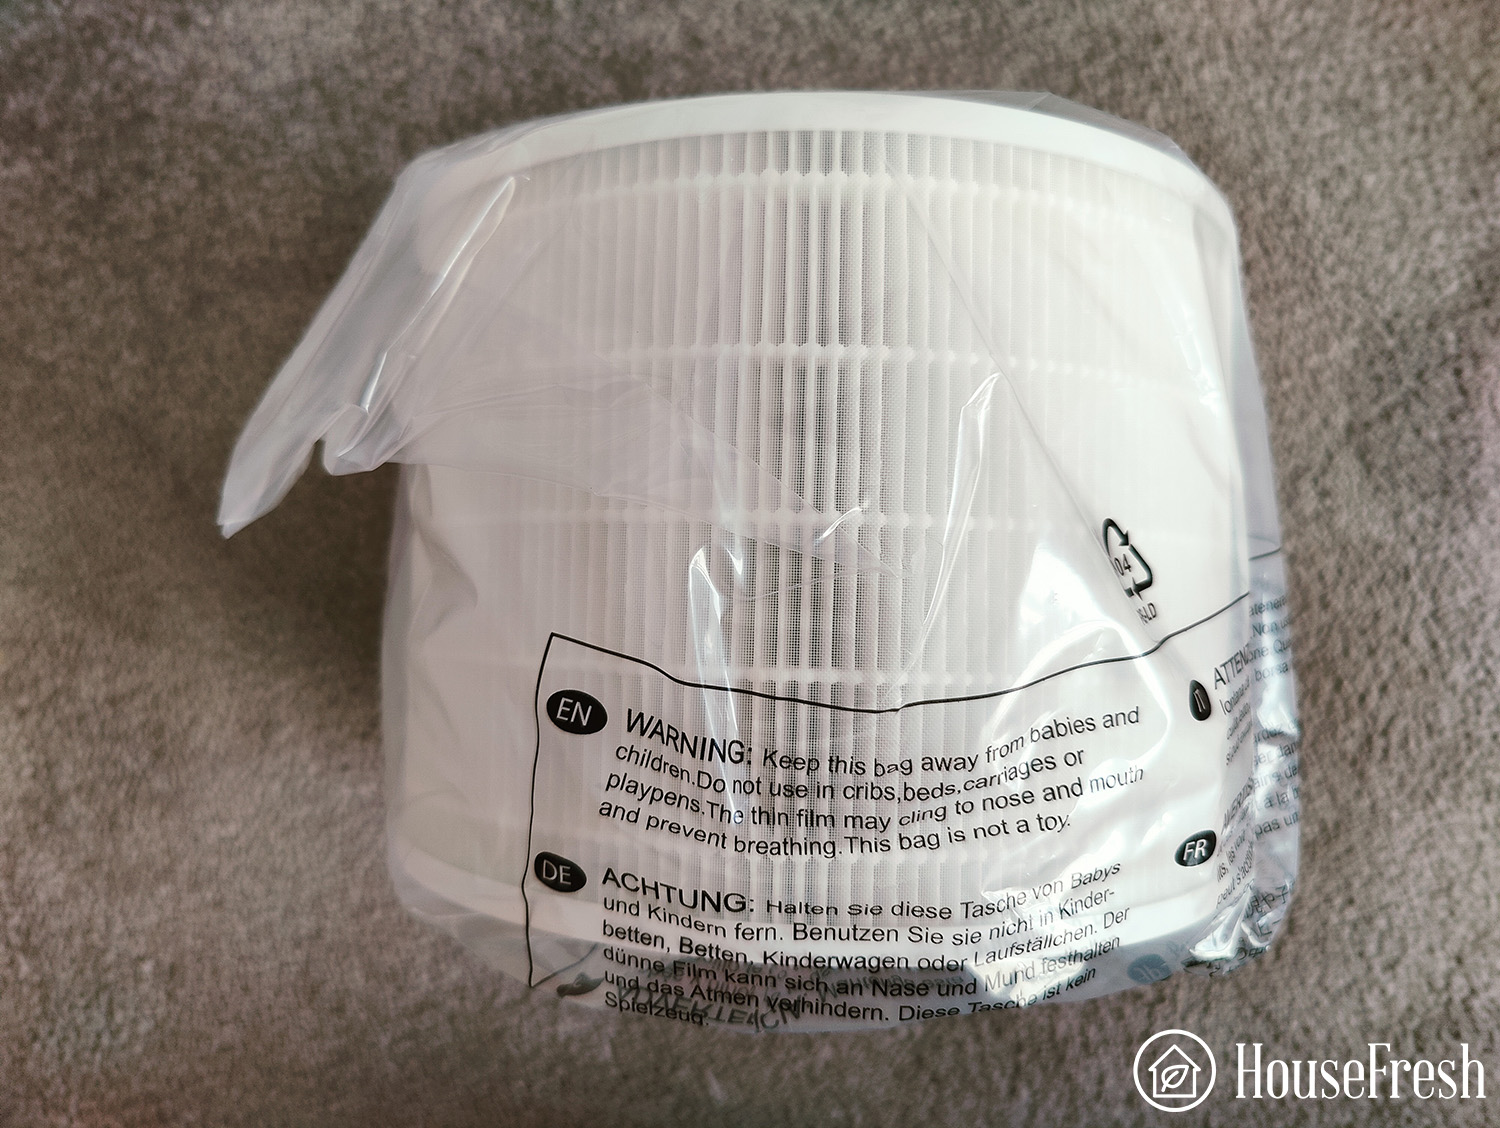
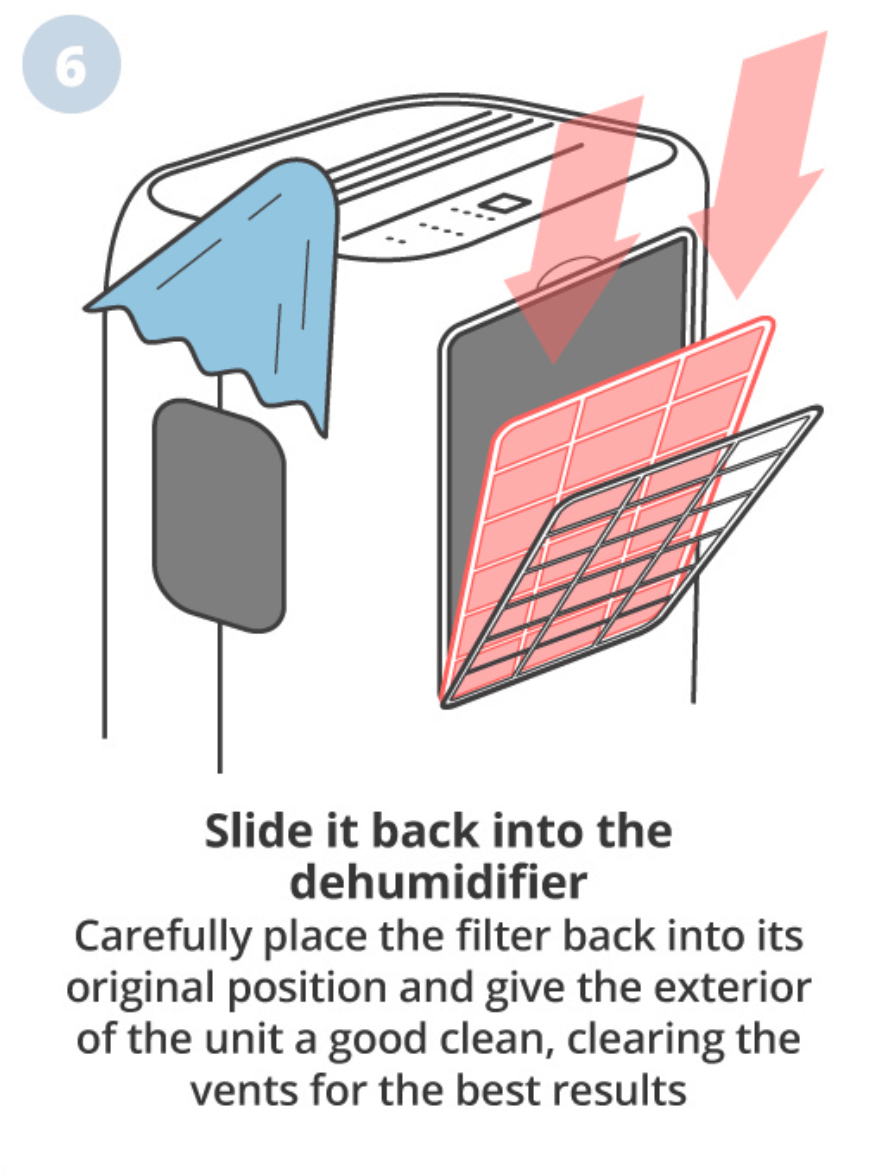
- Remove the packaging from the replacement filter. Carefully insert the bottom of the filter first before pushing the top into the air purifier. Be sure to do this until the filter fits snugly.
- Put the cover back on.
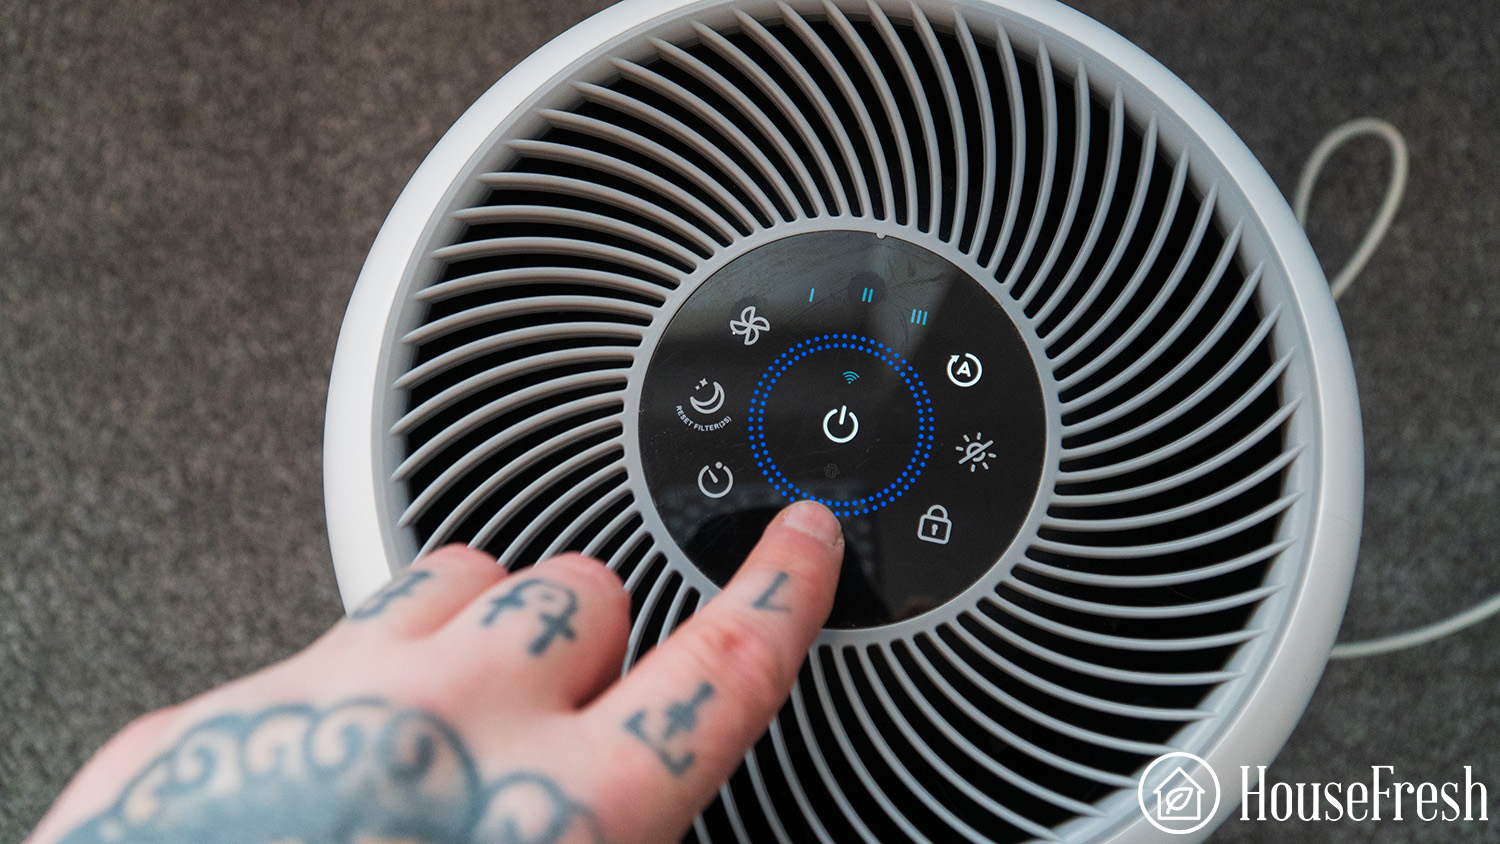
- The final step is to reset the filter indicator. Turn on the purifier and hold the filter button for five seconds. The light above the filter should now reset to green.
Problem 4: My Alen Air Purifier Keeps Beeping
While it can be a nuisance if your unit keeps making noises, it’s usually something that can easily be rectified.
❓ Does the unit need resetting?
In most cases, resetting the device will stop the beeping. Here’s how to do it:
- Find the filter button (usually located near the power button).
- Press and hold the filter button for at least 5 seconds.
- Now turn the purifier back on; hopefully, the beeps will be gone.

❓ Does the filter need replacing?
If resetting didn’t work, then it could be that you simply need to change the filter. Follow our guide on how to do this from above.
Problem 5: The Fan Isn’t Working
If the unit’s fan isn’t working correctly, it will impact the whole purification process.
❓ Is there a problem with the motor or the blades?
If you suspect this is the case, contacting Alen customer support for advice and help is best. Call them on +1-800-630-2396, use their chat function via their website, or fill out their online form.
❓ Is the fan working at all?
If the fan has stopped working, you may need to replace the unit entirely. Again, you can contact customer support for their guidance.
❓ Has a fuse blown?
You can test this by unplugging the unit, waiting a minute or so and then plugging it back in. If there is a blown fuse, this will need to be replaced, as we mentioned earlier.
Problem 6: The Filter Light Keeps Blinking
If there’s an issue with the filter light, don’t worry, as it’s usually nothing too serious.
❓ Have you inserted the replacement filter correctly?
Remove the filter and try replacing it again. If it’s still blinking after you’ve tried this, there may be a problem with the new filter. Be sure to contact customer service for help.
❓ Is your purifier showing an error code?
In this instance, it’s best to contact Alen customer support, who can help you troubleshoot the problem.
Problem 7: My Alen Air Purifier Isn’t Circulating Air
Your purifier must be able to circulate the air properly, yet sometimes this feature can malfunction.
❓ Is there a problem with the fan?
Firstly, check to see if the fan is spinning. If it seems to be running too slowly, you may need to adjust the speed. If the fan isn’t spinning, unplug the unit and check for any blockages. This includes in and around your unit where the air blows out.
❓ Is there an issue with the motor?
You’ll need to contact customer support if this is the cause, as they can arrange a replacement.
❓ Is there anything covering the fan?
You should always ensure that nothing is covering the fan, as this can lead to overheating and potentially damage your purifier.
Problem 8: The Air Quality Monitor Isn’t Working
It’s essential to monitor the air quality in your home via your device. But if this feature isn’t working correctly, the reasons are often quite simple.
❓ Is there something blocking the sensor?
Be sure to check if anything is obstructing the sensor, and don’t forget to remove any dust or debris that may have been collected.
Problem 9: My Alen Air Purifier Won’t Connect to Wi-Fi
To ensure your device runs smoothly, it’s essential to have good connectivity.
❓ Are you using the right network for your unit?
As Alen states, “the BreatheSmart 75i and 45i only support 2.4 GHz (not 5 GHz) Wi-Fi networks.”
There are a few ways to identify your network’s GHz for Android and Mac devices.
- Android: Go to the ‘Settings’ app, tap the Wi-Fi network name and locate the ‘Frequency’ value.
- Apple: Hold down the ‘Option’ and ‘Command’ keys, then click on the Wi-Fi icon in your top menu bar. Select the ‘Channel’ value.
Problem 10: The SmartLife Hotspot Isn’t Showing in Wi-Fi Settings
This is another problem you might encounter when adding your Alen device, but it’s often easily resolved.
❓ Have you checked that the SmartLife network is available?
To do this, simply exit the Alen Air app, then go to ‘Settings’ on your phone to check if the ‘SmartLife-XXXX network is available. If it is, follow these steps:
- Hold the ‘Auto’ button on your purifier until the Wi-Fi light blinks.
- Continue to hold the button to allow the Wi-Fi light to blink for approximately two minutes i.e. until it stops blinking.
- Try to add your device again.
Problem 11: An ‘Onboarding Failed’ Message Is Showing When Adding the Device
There could be a few reasons for this, so be sure to ask…
❓ Have you confirmed you want to connect to the right network?
This should be 2.4 GHz and not 5 GHz, as we mentioned above.
❓ Have you checked the Wi-Fi password?
Make sure that the password you entered for the Wi-Fi network is accurate.
❓ Have you selected the ‘SmartLife-XXXX’ as the temporary Wi-Fi network?
This should mean you can successfully onboard your device.
Problem 12: My Alen Air Purifier Isn’t Working At All
Finally, you may find that your unit just isn’t working at all. As frustrating as this is, it can often be easily fixed.
❓ Does the device need resetting?
Resetting your unit can often work wonders and resolve the problem quickly. As mentioned above, hold the filter button for at least five seconds; this should get your purifier back up and running.
❓ Is your power source working?
Simply unplug your device and swap it for a different one to check your power source. If your other device works perfectly, you may need to contact customer support for advice.
❓ Is the Power Rating Inaccurate?
As we already discussed, your purifier won’t turn on if the power rating is incorrect. Check out our handy table above to find your device’s power supply.
Contacting Alen Air
There are various ways to get in touch with Alen to access their customer support. You can phone them at +1-800-630-2396, use their chat function via their website, or fill out their online form.
Their online and phone opening hours are Monday through Friday, 8 AM—6 PM CST.
And if you prefer to contact Alen via postal mail, you can send a letter to: Alen Corporation, 9200 Waterford Center Blvd. Suite 600, Austin, Texas 78758.
Alen also has a detailed FAQ section that gives helpful advice, such as how often you should run your purifier. You can check this out here.
Find the Manual for Your Alen Air Purifier
Sometimes, you just need a good old-fashioned manual. Click on the link below for your particular model.
| Model | Manual |
| Alen BreatheSmart 75i True HEPA | |
| Alen BreatheSmart 45i True HEPA | |
| Alen BreatheSmart Classic True HEPA | |
| Alen BreatheSmart FIT50 True HEPA | |
| Alen BreatheSmart FLEX True HEPA | |
| Alen T500 True HEPA Tower Air Purifier |
Sources
Alen. (2022). Alen Air Purifiers and Filters Frequently Asked Questions (FAQ). alen.com
Alen. (2022). Alen Air App FAQs. alen.com
Allen, P. (2022). HouseFresh. Alen BreatheSmart 45i Review. housefresh.com
Ashton, D. (2022). HouseFresh. Alen a350 Air Purifier Review. housefresh.com
Booth, D. (2022). HouseFresh. Alen BreatheSmart 75i Review. housefresh.com
Herron, B. (2022). Air Purifiers.Company Review: Alen Air Purifiers. airpurifiers.com
Evans, A. (2022). Air Purifiers Reviews. Alen Air Purifier Won’t Turn On: How to Fix? moaablogs.org
Mills, I. (2022). Fresh Air Devices. Alen Air Purifier Troubleshooting (13 Issues Solved). freshairdevices.com
Walker, P. (2022). Air Caring. Why Is My Alen Air Purifier Beeping? aircaring.com
Price, A. (2019). Filter Monster. How-To: Replacing your Alen Air Filter. filter-monster.com