Are you looking for an air purifier for your home?
First, I want to let you into a secret: Many of the air purifiers available on the market right now are underpowered and overpriced.
With this guide, I will help you avoid the thousands of duds on Amazon, so you can find a device that works for your budget and air quality issues.
Since 2020, I have tested over 70 air purifiers and performed in-house experiments, looking at air cleaning performance, sound level generation and energy usage.
That is how I have uncovered 10 tips that will help you choose the right air purifier for your home.
1. CADR, CADR, CADR
Unlike most appliances, an air purifier’s work is hidden from the naked eye. This allows manufacturers to say all sorts of things to make you choose them over competitors, but the main thing you need to look out for is the CADR score.
CADR stands for Clean Air Delivery Rate and is the result of a lab test result from the Association of Home Appliance Manufacturers. They test how well each device does removing dust, pollen and smoke and provide a score from 0-400 cfm
You could say that CADR is the gold standard for testing air purifiers.
As a very rough guide:
- Small rooms of less than 200 sq. ft. will need a CADR of at least 150 CFM
- Medium-sized rooms of up to 400 sq. ft. will need around 260 CFM
- Larger spaces over 400 sq. ft. will need more than 300 CFM
Use our calculator to find out what CADR score you should be looking at depending on the size of your room:
The largest of spaces will need devices with very high CADR scores, like the Smart Air Blast with a whopping 559 CFM.
- You can use multiple devices in a large space. You just need to add their CADR scores together.
- EnergyStar hosts a directory of publicly available AHAM test results. Before buying an air purifier, check out their website to confirm CADR scores for any air purifier.
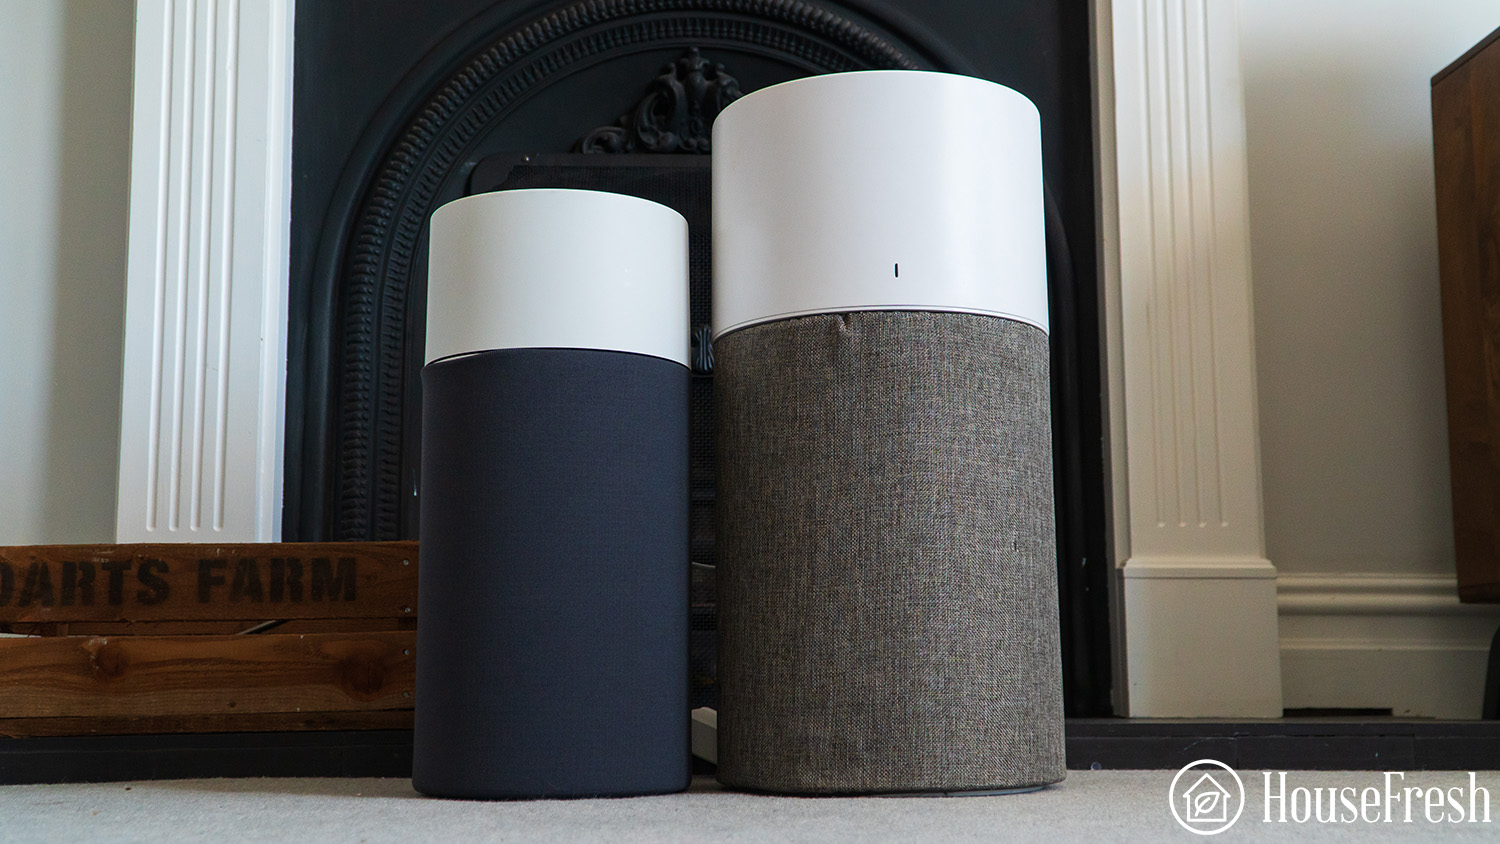
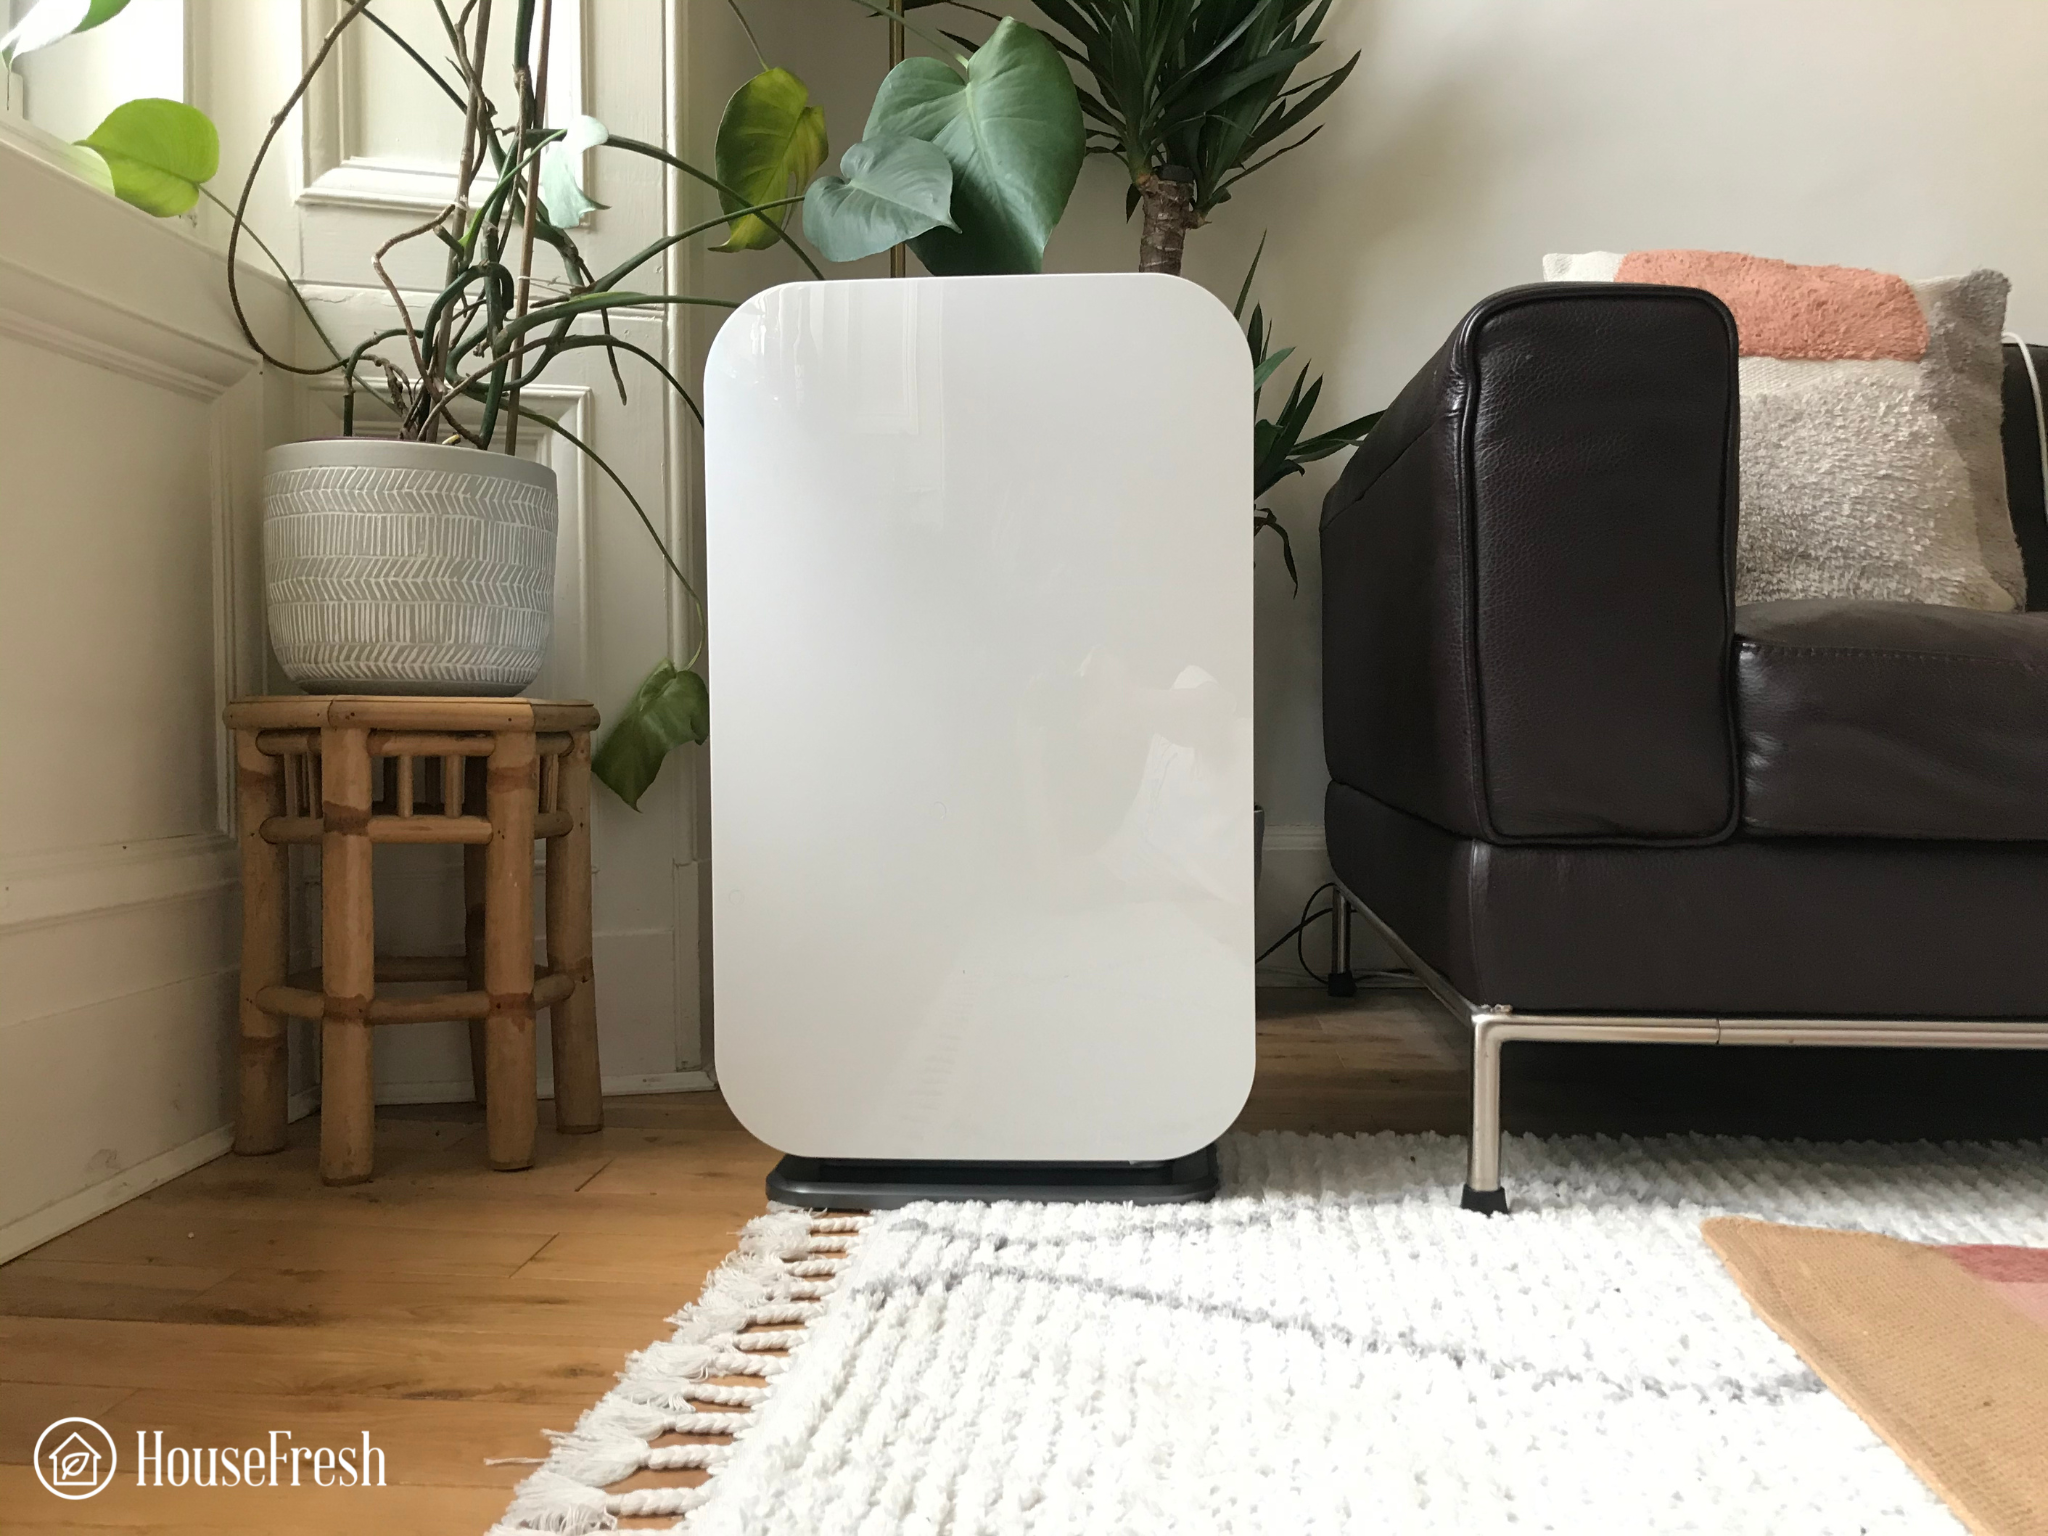
2. Bigger is generally better
While it’s good to focus on finding an air purifier with the right CADR score for your space, you should know that CADR tests are run on the device working at full speed.
When running at full speed, the vast majority of air purifiers are loud, generating 55 to 65 decibels of noise. That is why, in most cases, you are better off getting the biggest device you can live with so you can use it at lower fan speeds instead. Mechanical filters like HEPA work by pushing air through them using a fan. The bigger the fan and filter, the higher the air-cleaning performance.
While smaller devices might seem like a better choice for your budget, you will need to run them at their highest fan speeds for them to do a good job. And when running at top speed, these small devices will be louder than you would like.
Not only that, we find that smaller air purifiers often have the same or higher long-term running costs as larger units due to how often you need to replace the filters and how much electricity they pull when running at top speeds.
If you can, try to get at least a medium-sized device like the Levoit Vital 200S or the Winix 5500-2 with a dust CADR of 240-260 CFM. While they cost a little more to buy, you can run them at lower speeds in smaller rooms – and they will cost the same or even less to run over the long term.
3. Don’t trust room size recommendations
If you visit Amazon or any retailer’s website, you will see that every air purifier seems to be able to clean the air in rooms bigger than 1000 sq. ft.
You might think you can just get one of these cheaper, smaller devices to keep a large room clean, trusting ‘recommended room size’ figures from manufacturers. The problem is that they are using a marketing trick.
The room sizes quoted by retailers (and parroted by big media sites in their best-of lists) will be based on calculations the manufacturer did based on just one air change per hour, but cleaning the air once per hour just isn’t useful in the real world.
In fact, the EPA recommends 4.8 air changes per hour, which will result in a much smaller room size than the one quoted in manufacturers’ marketing materials.
There are no regulations on room size recommendations, so brands can do this without getting into trouble.
When looking at product specifications here at HouseFresh, you can be confident that recommended room sizes are based on 4.8 air changes per hour. The same can be said for the Association of Home Appliance Manufacturers, so be sure to check with them before trusting if an air purifier is powerful for your room size.
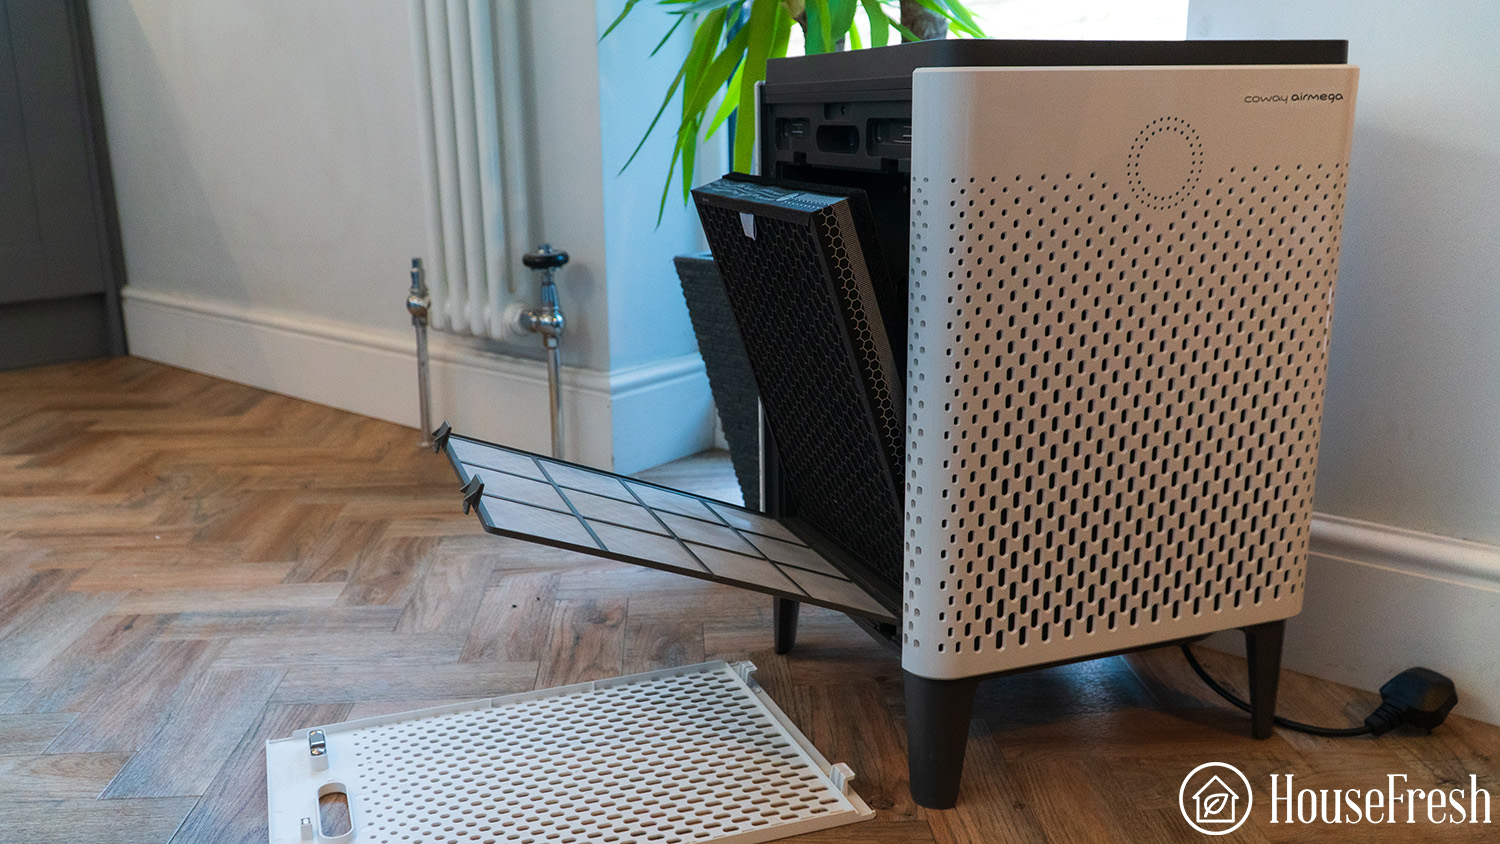
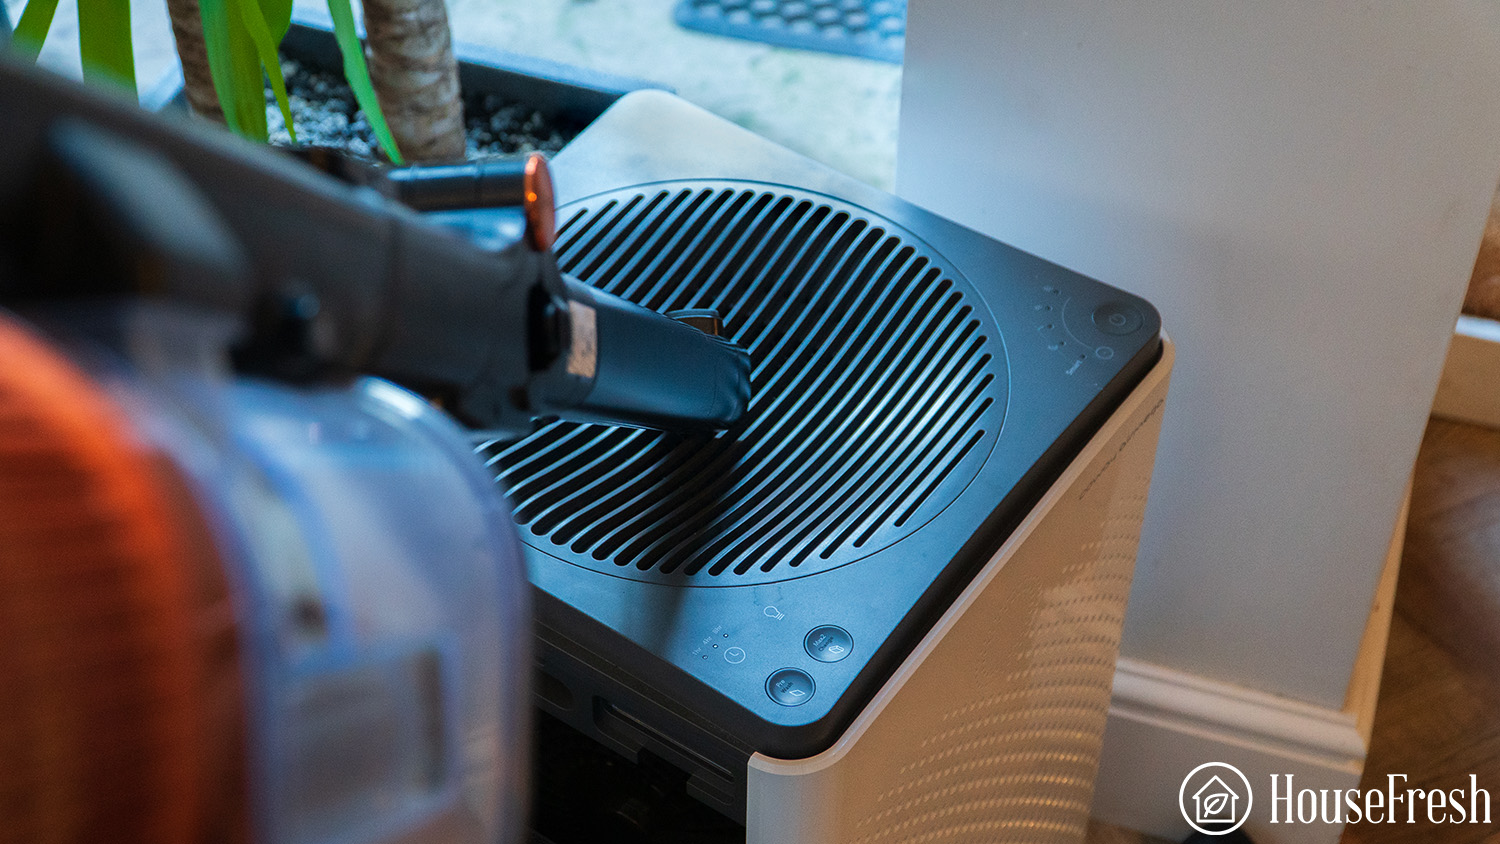
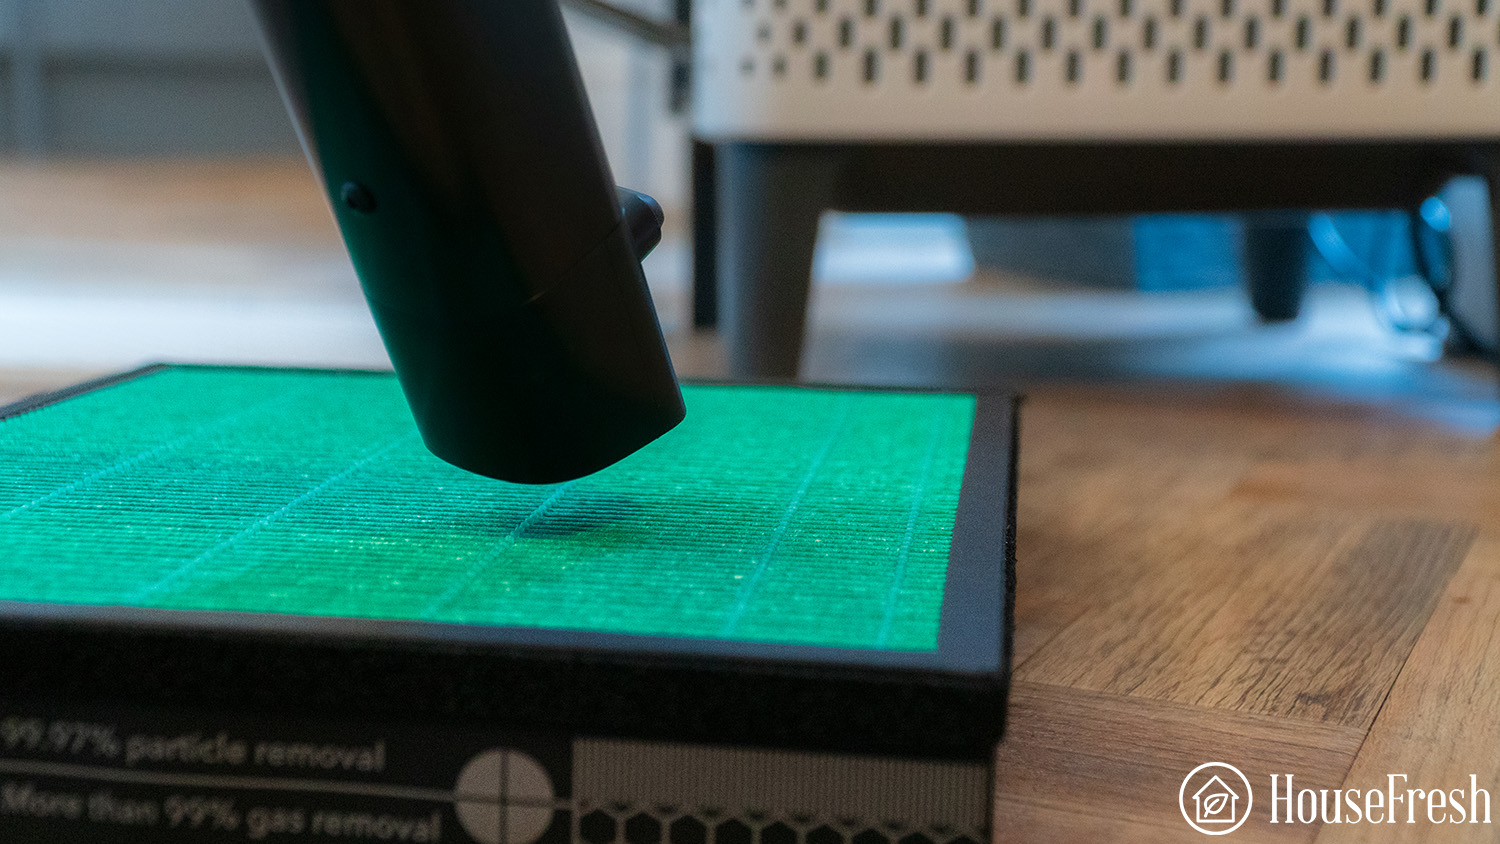
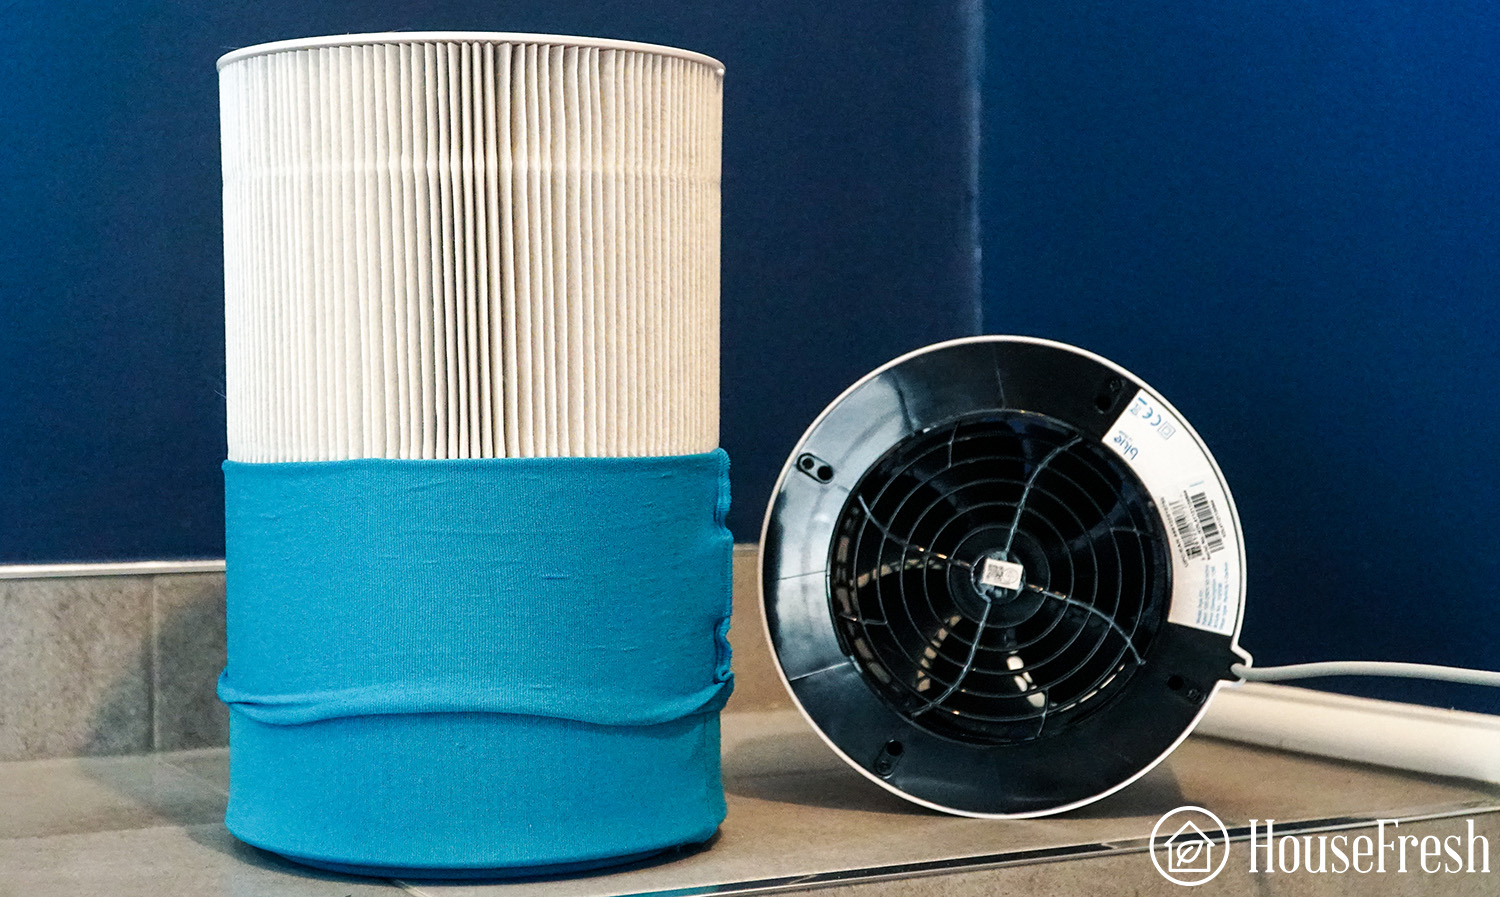
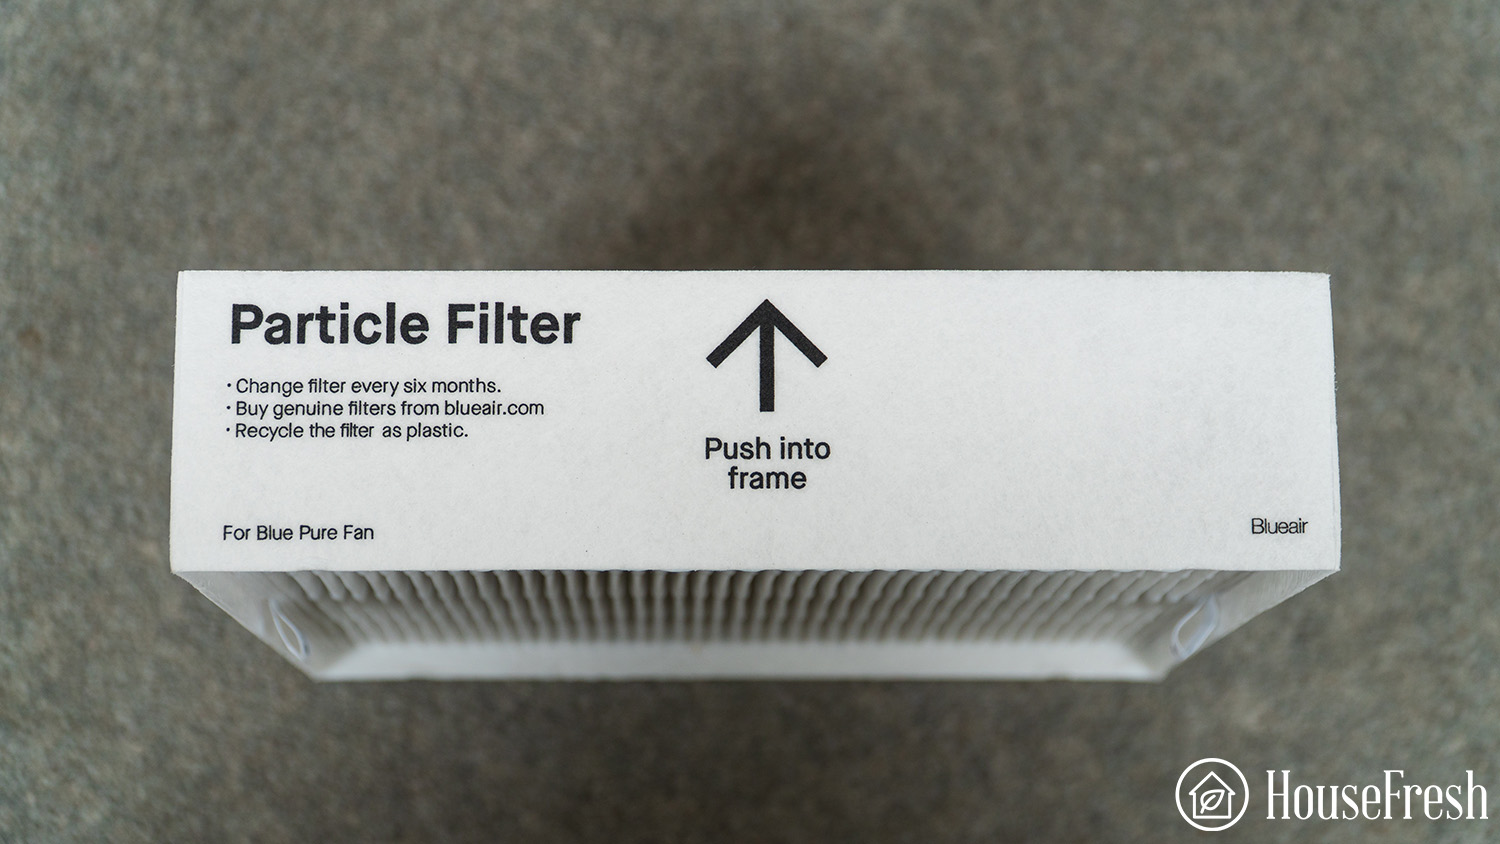
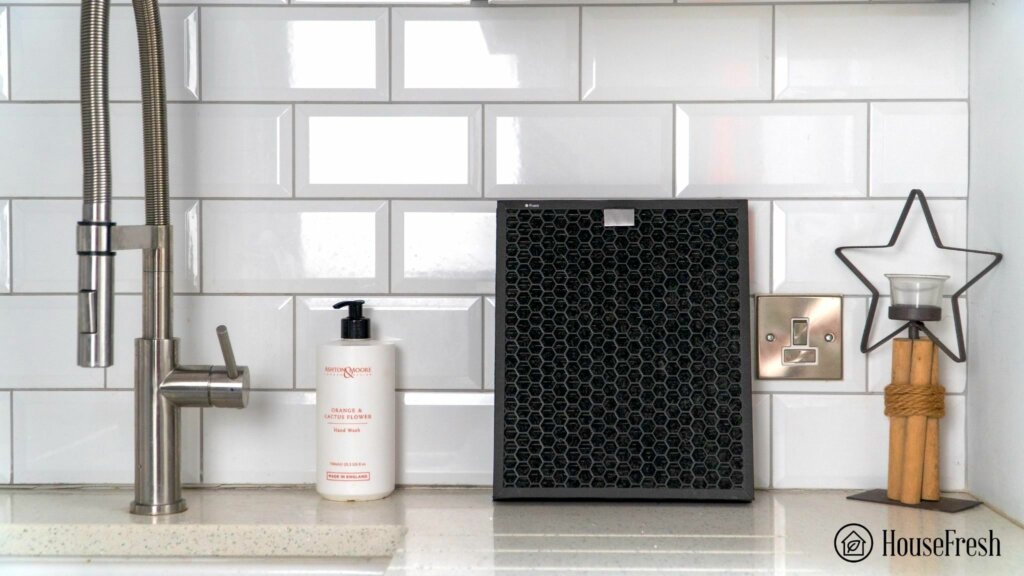
4. Look for models with a removable pre-filter
All air purifiers come with pre-filters that capture the largest particles, such as pet hair and fluff floating in the air.
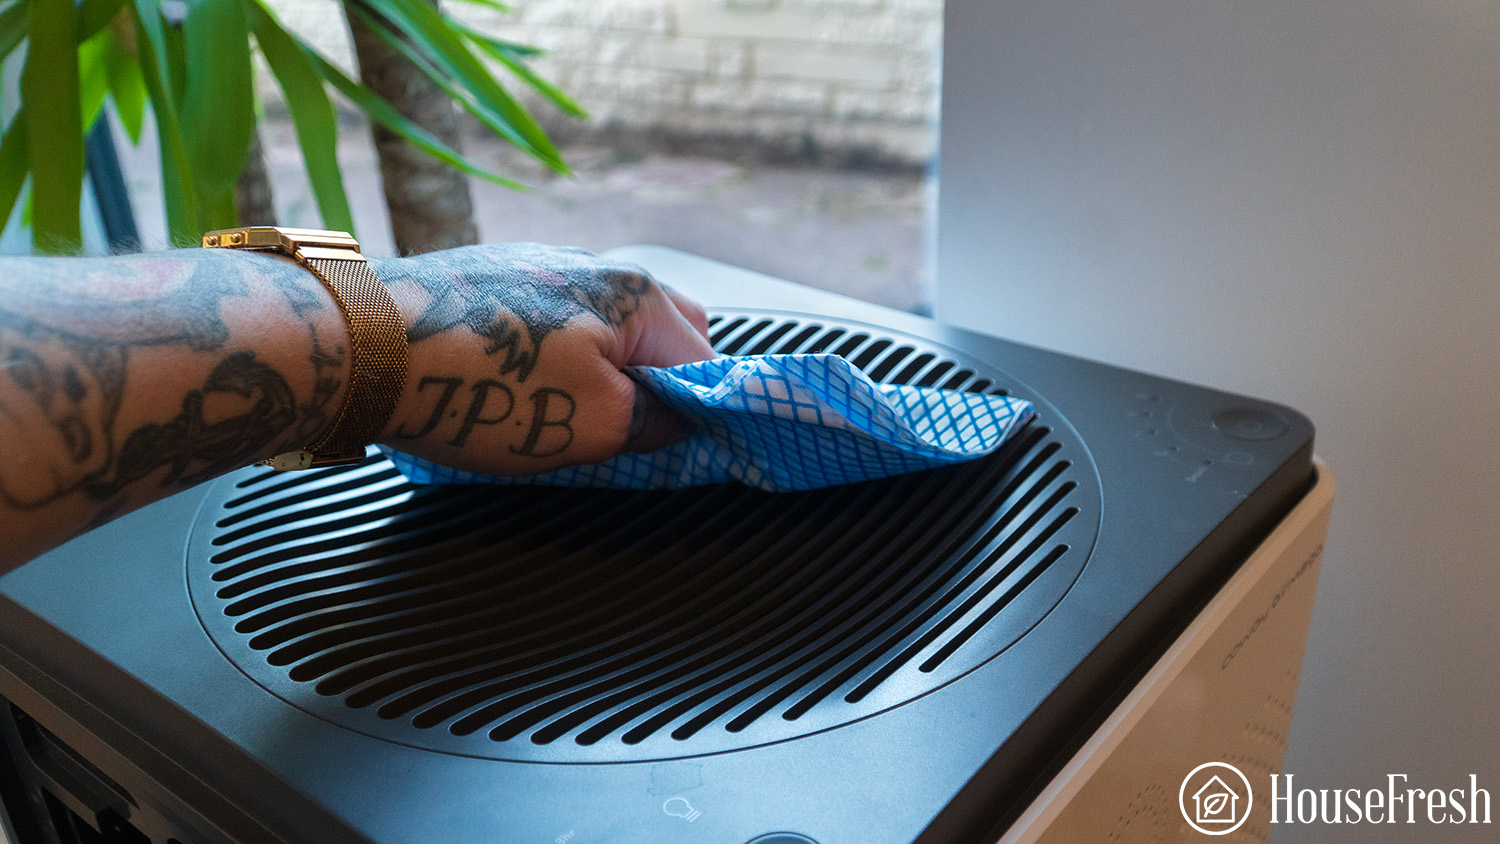
The pre-filter protects the main filters, so if you vacuum and clean your pre-filter regularly, you will extend the life of your main filters AND you will ensure they keep cleaning the air as efficiently as possible.
A dirty pre-filter can make a HUGE difference to the performance of your air purifier. Believe it or not, it can reduce air cleaning efficiency by 40%!
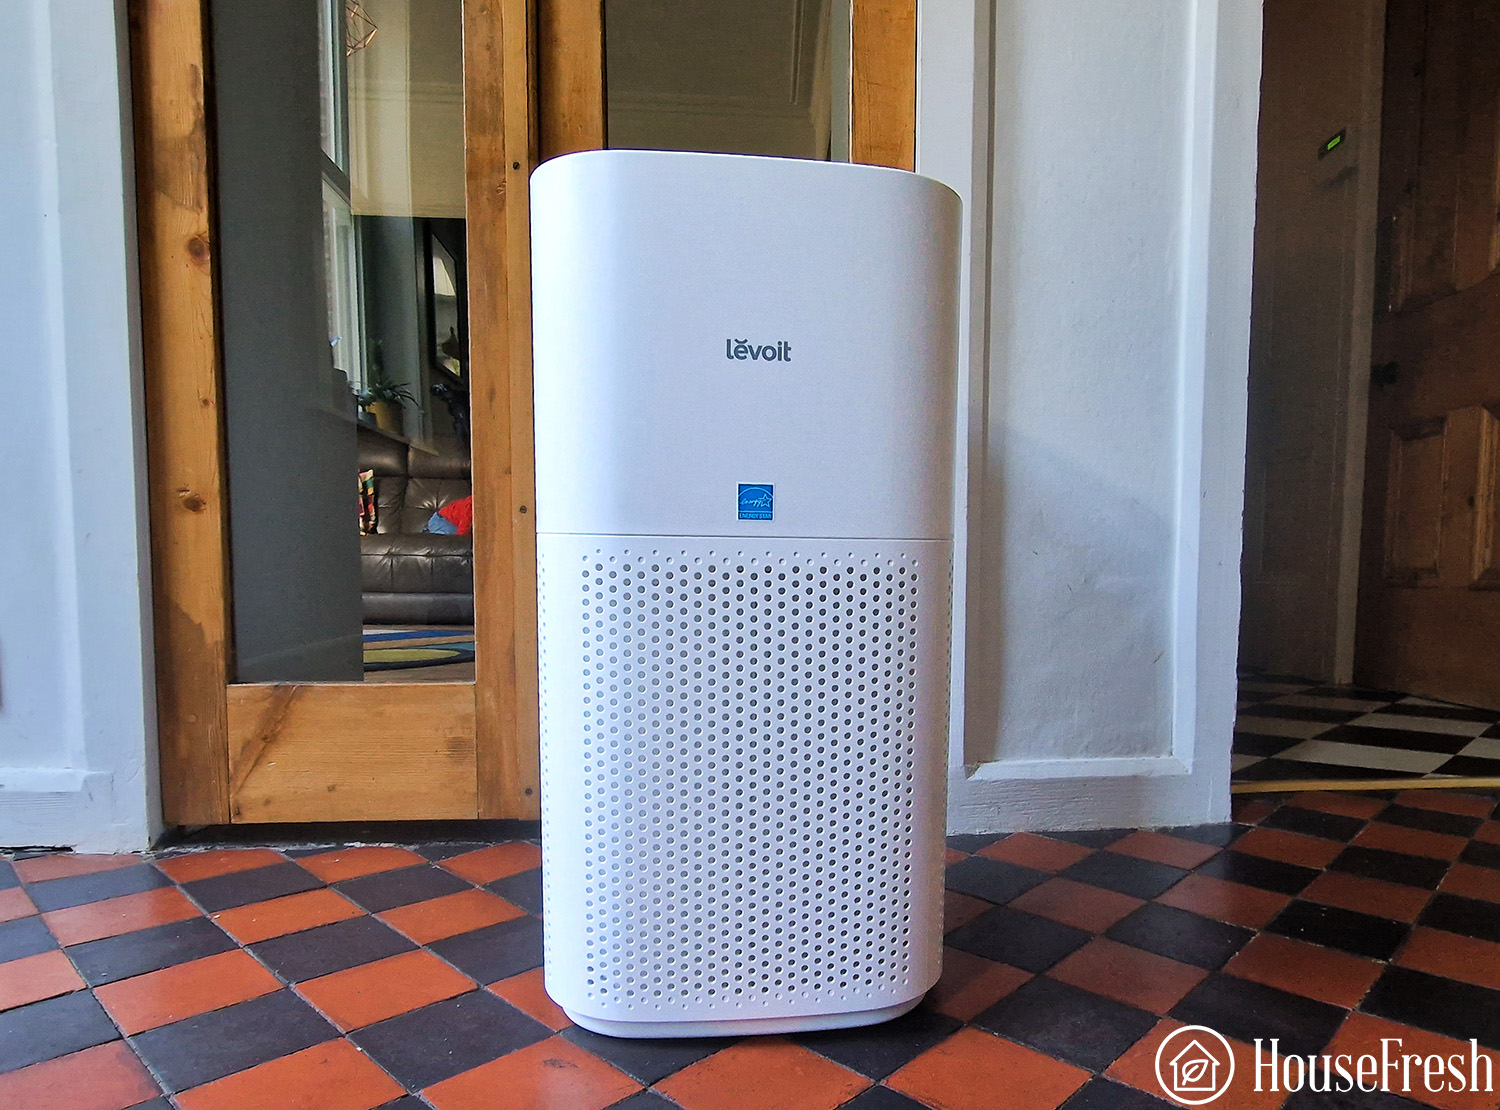
The problem is that many air purifiers (like those from the Levoit Core series) have the pre-filter attached to the main filter. This makes them difficult to clean, leading to needing to replace the whole filter sooner than you’d like.
So try to find an air purifier with a removable pre-filter instead so you can stay on top of cleaning it regularly without hassle. Devices that allow you to remove the pre-filter make the job much easier and increase your likelihood of doing it.
If you’re reading this and you can’t remember when you last cleaned your pre-filter, then give it a clean now! Your lungs will thank you for it.
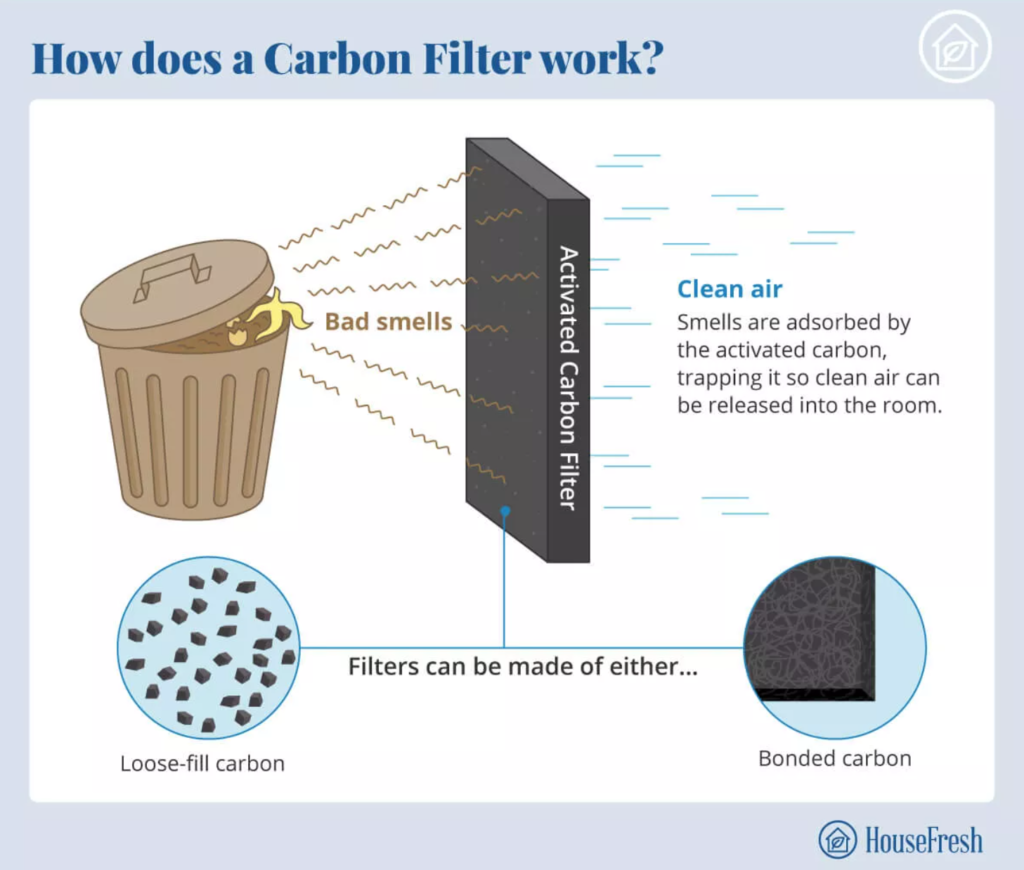
5. Don’t worry too much about activated carbon
The particle filter in an air purifier can address the main issues most people face, such as pet dander, pollen or dust. This means that you don’t need to get an activated carbon filter unless you have an issue with chemical gasses like formaldehyde and unwanted odors.
Now, you will notice that most air purifiers come with activated carbon filters anyway…
While cheap carbon filters can remove mild, everyday unwanted smells, most have such small amounts of carbon that they will quickly become saturated if you have a serious issue with VOCs.
So if you have a serious issue with odors, you should look for air purifiers with very large carbon filters, like:
- The Austin Air HealthMate that costs $720 and comes with 15 lbs of carbon
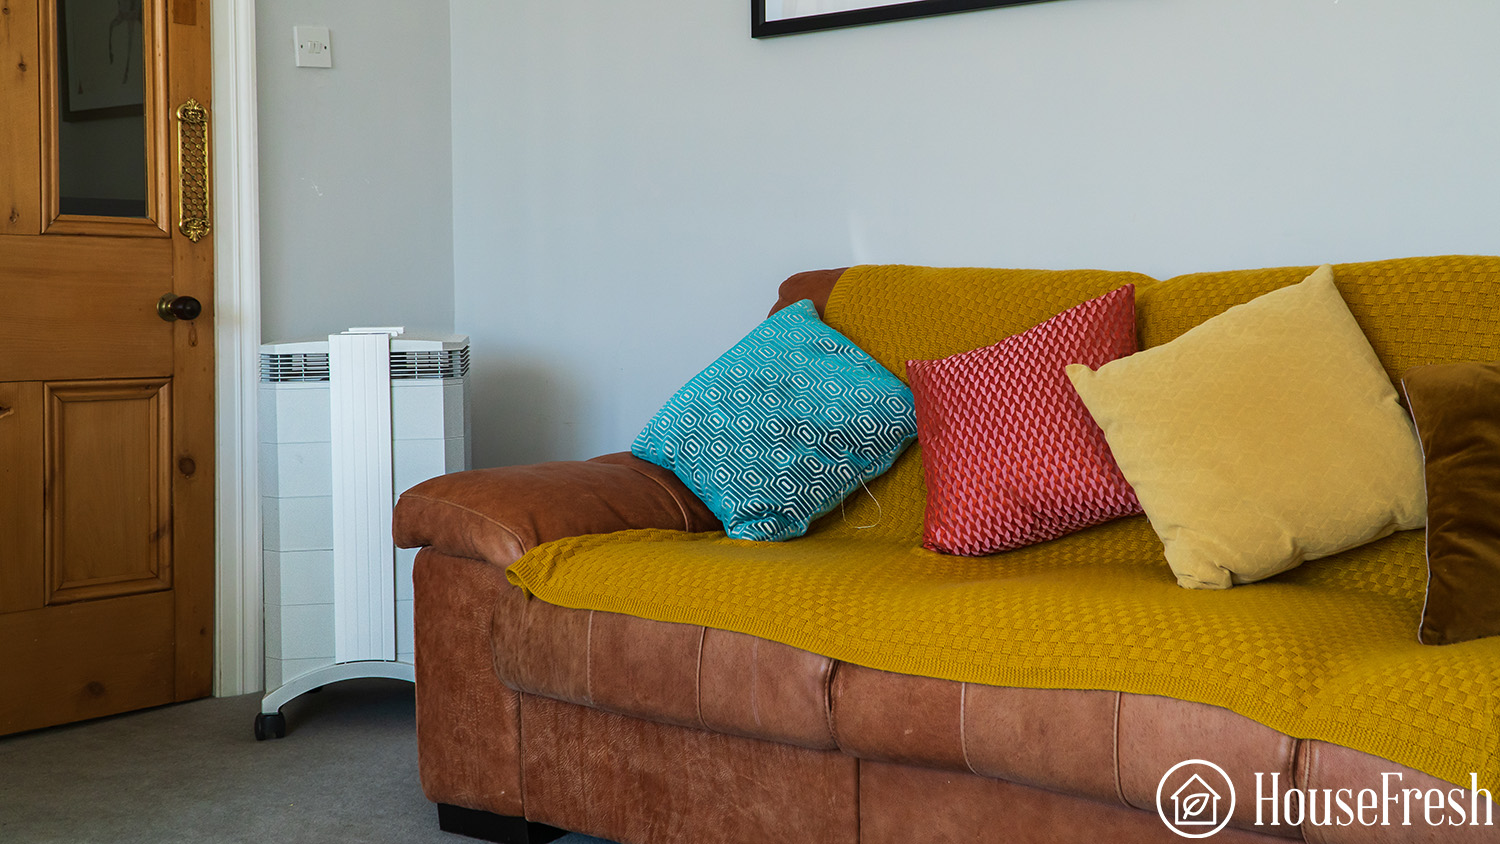
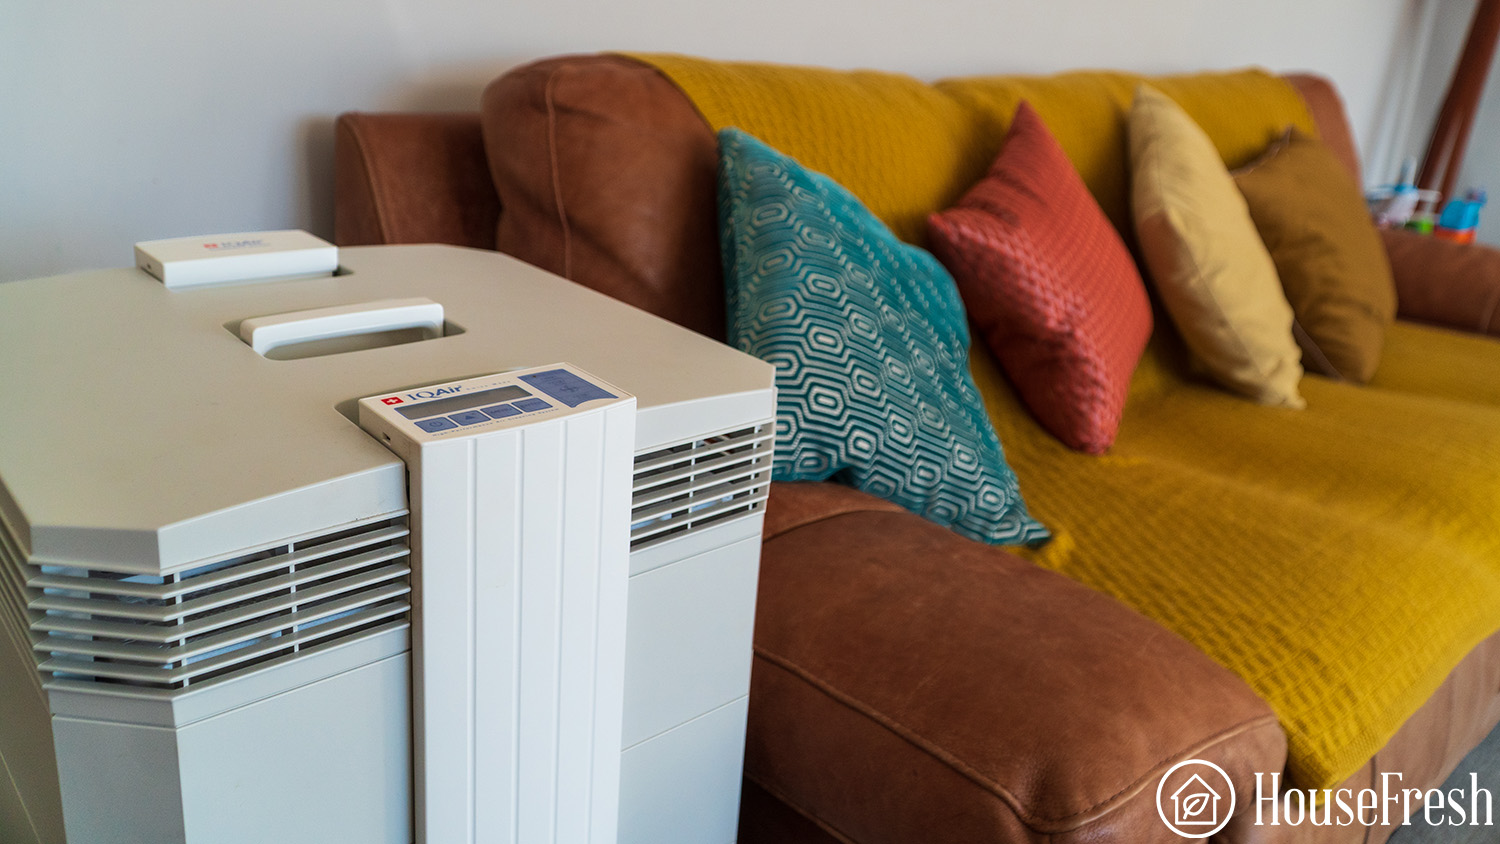
- The IQAir HealthPro Plus, which costs $899 and comes with 5.5 lbs of carbon
However, be aware that replacement filters for both of these units cost A LOT. Also, these are both energy-hungry devices, AND they are not needed for most uses.
Carbon filters reduce particle removal efficiency, so if you don’t need them, you should just stick to the particle filter.
- Smart Air is great for this, as the carbon filter is always optional.
- Levoit bonds its carbon filter to its particle filter, which is one of the major downsides of its devices. Once the carbon stops working, you will be forced to replace the whole filter.
- Winix and AirDoctor units work with separate filters for particles and carbon.
The best cheap device with decent carbon filters we have seen is the Winix 5500-2. This unit has washable carbon filters that use pelleted activated carbon, but it only comes with 0.5 lbs of carbon, so it is not enough for serious issues with odors and gases.
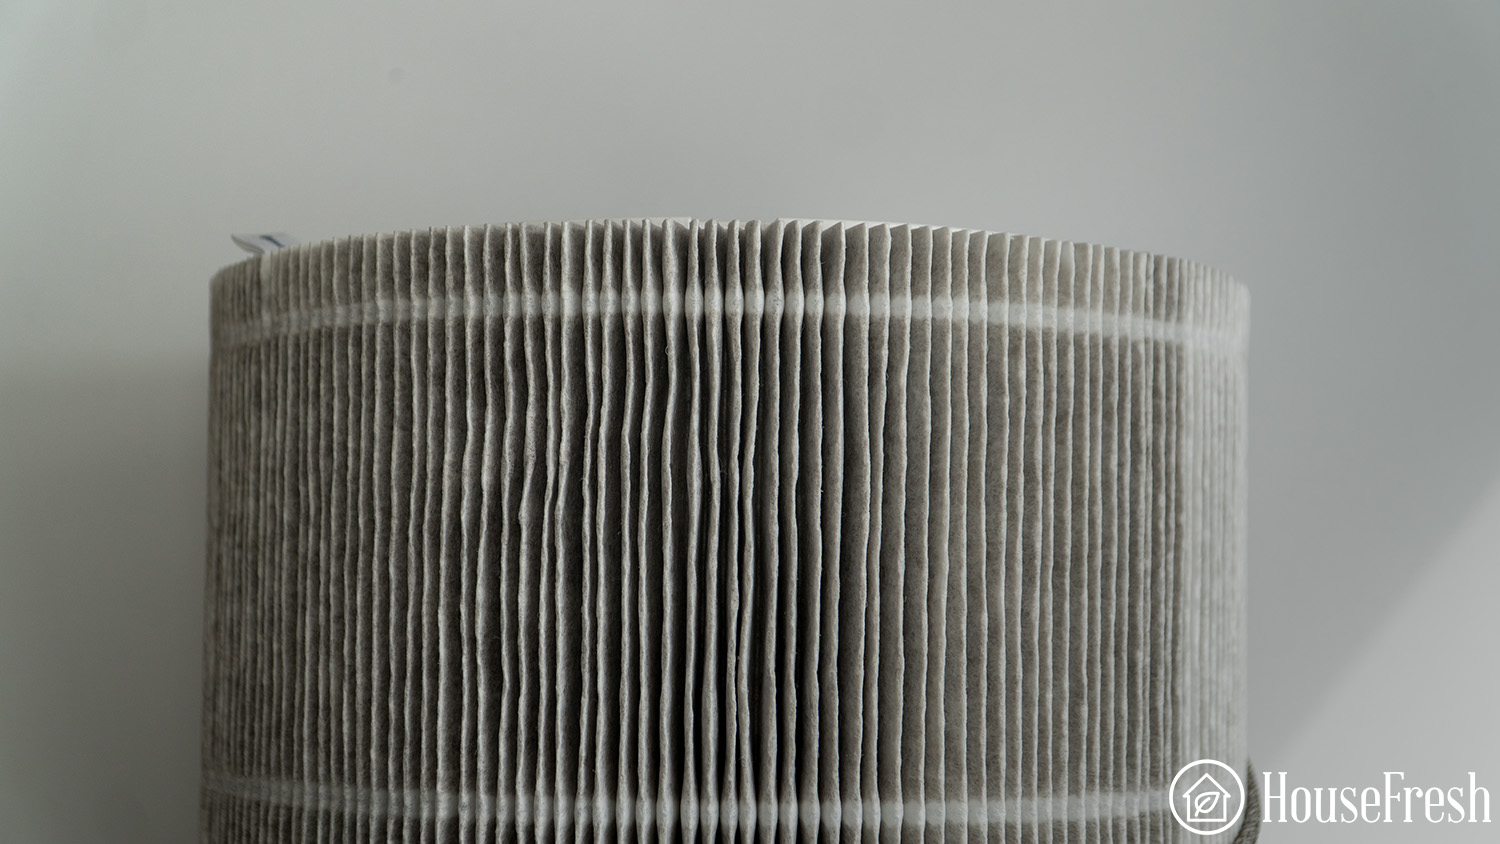
6. HEPA is not a requirement for a good air purifier
HEPA is a rating system for measuring the efficiency of air filters, but it is not the only rating system. You also have MERV, MPR, FPR and ISO ratings.
However, the vast majority of commercial air purifiers have adopted HEPA ratings, so that is why you will probably have heard about HEPA way more than the other acronyms.
Here’s the thing though:
The efficiency of an air purifier has less to do with the grade of its filter and more to do with its CADR (remember the first point in this guide?).
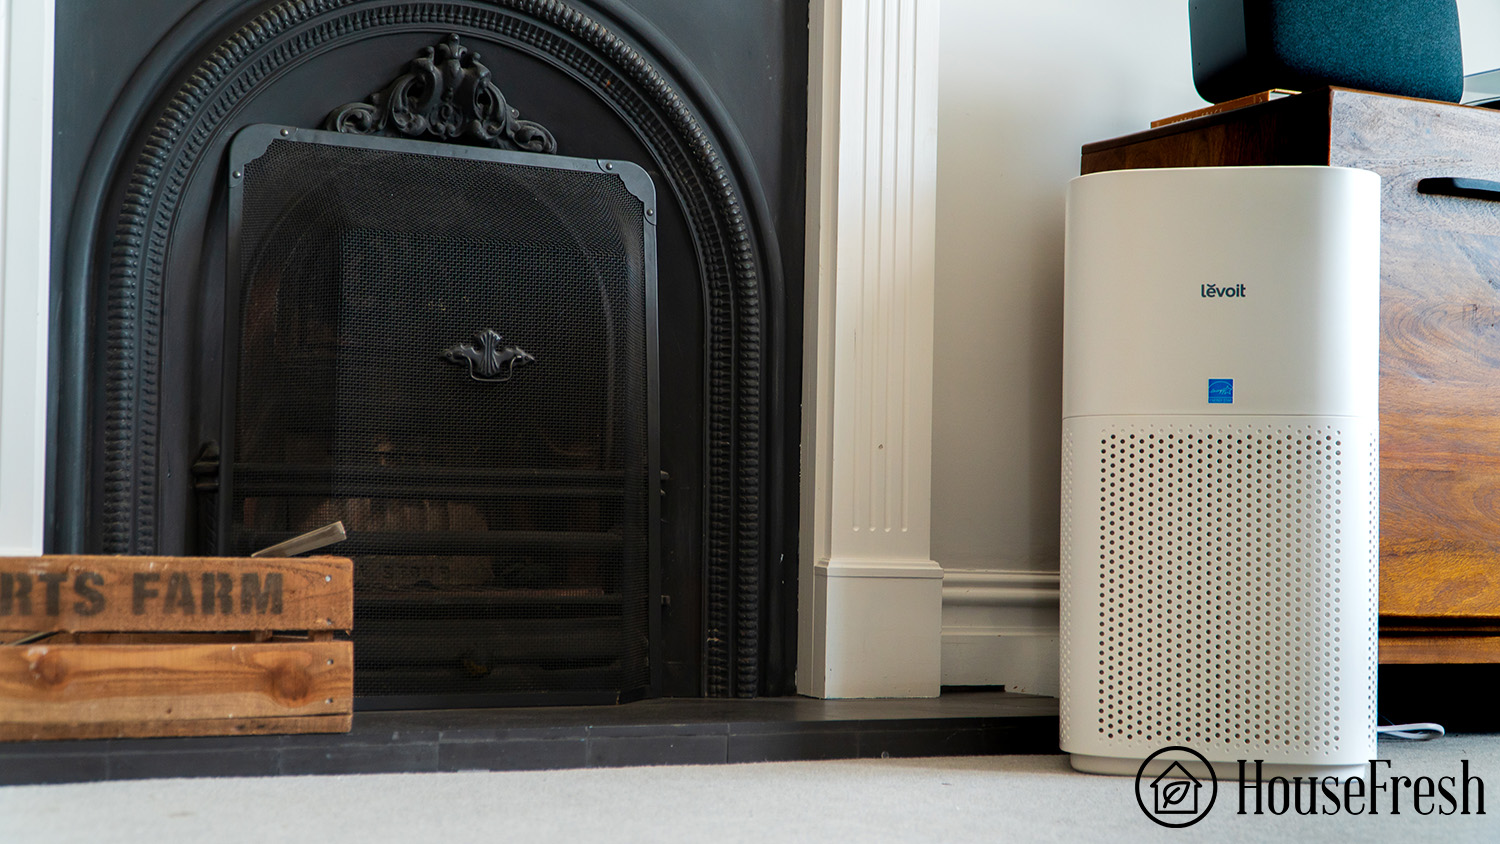
The highest the CADR rating, the more efficient the air purifier is at cleaning the air – this explains why a Levoit air purifier can clean the air super fast even though its filters are not HEPA-grade.
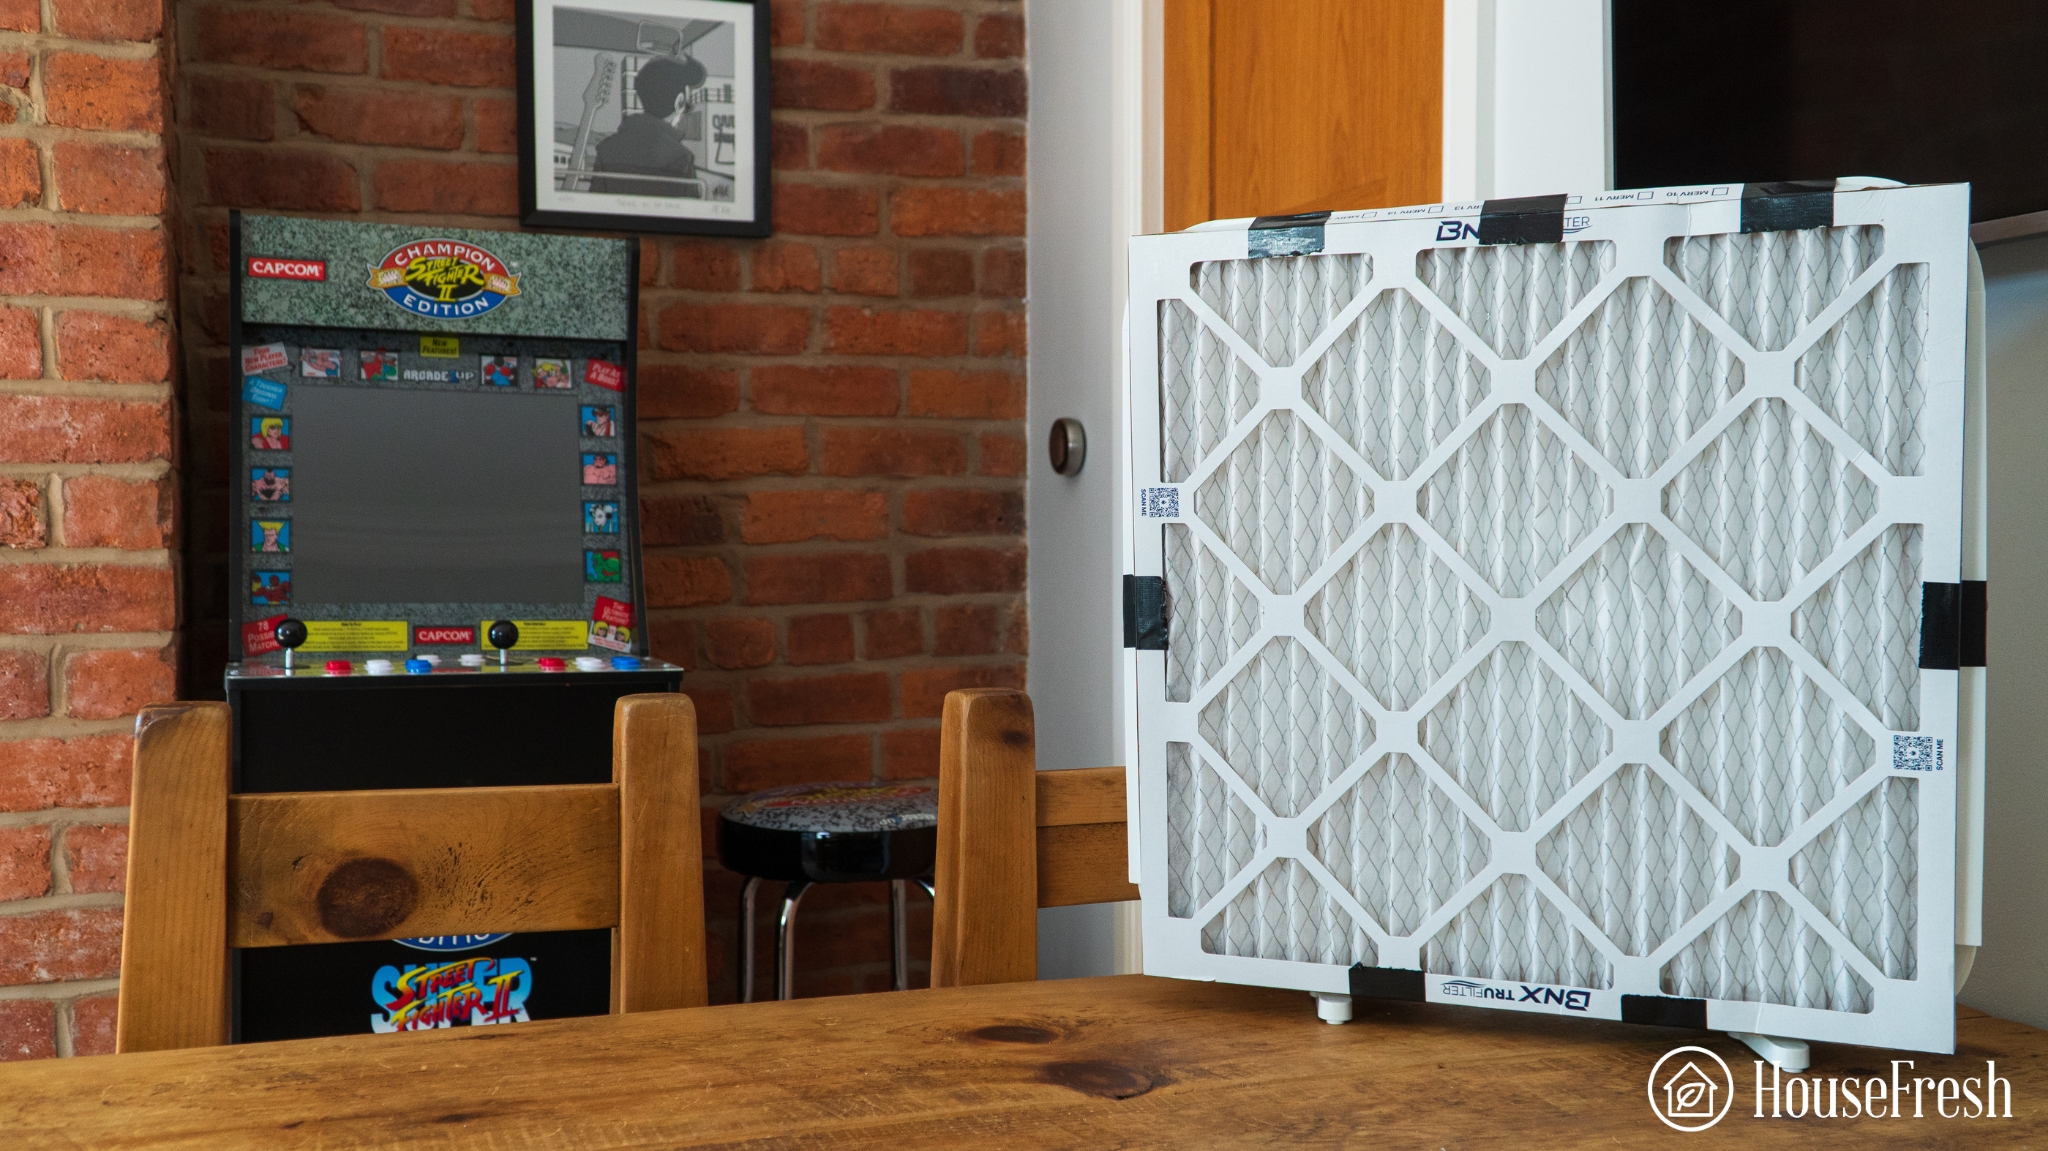
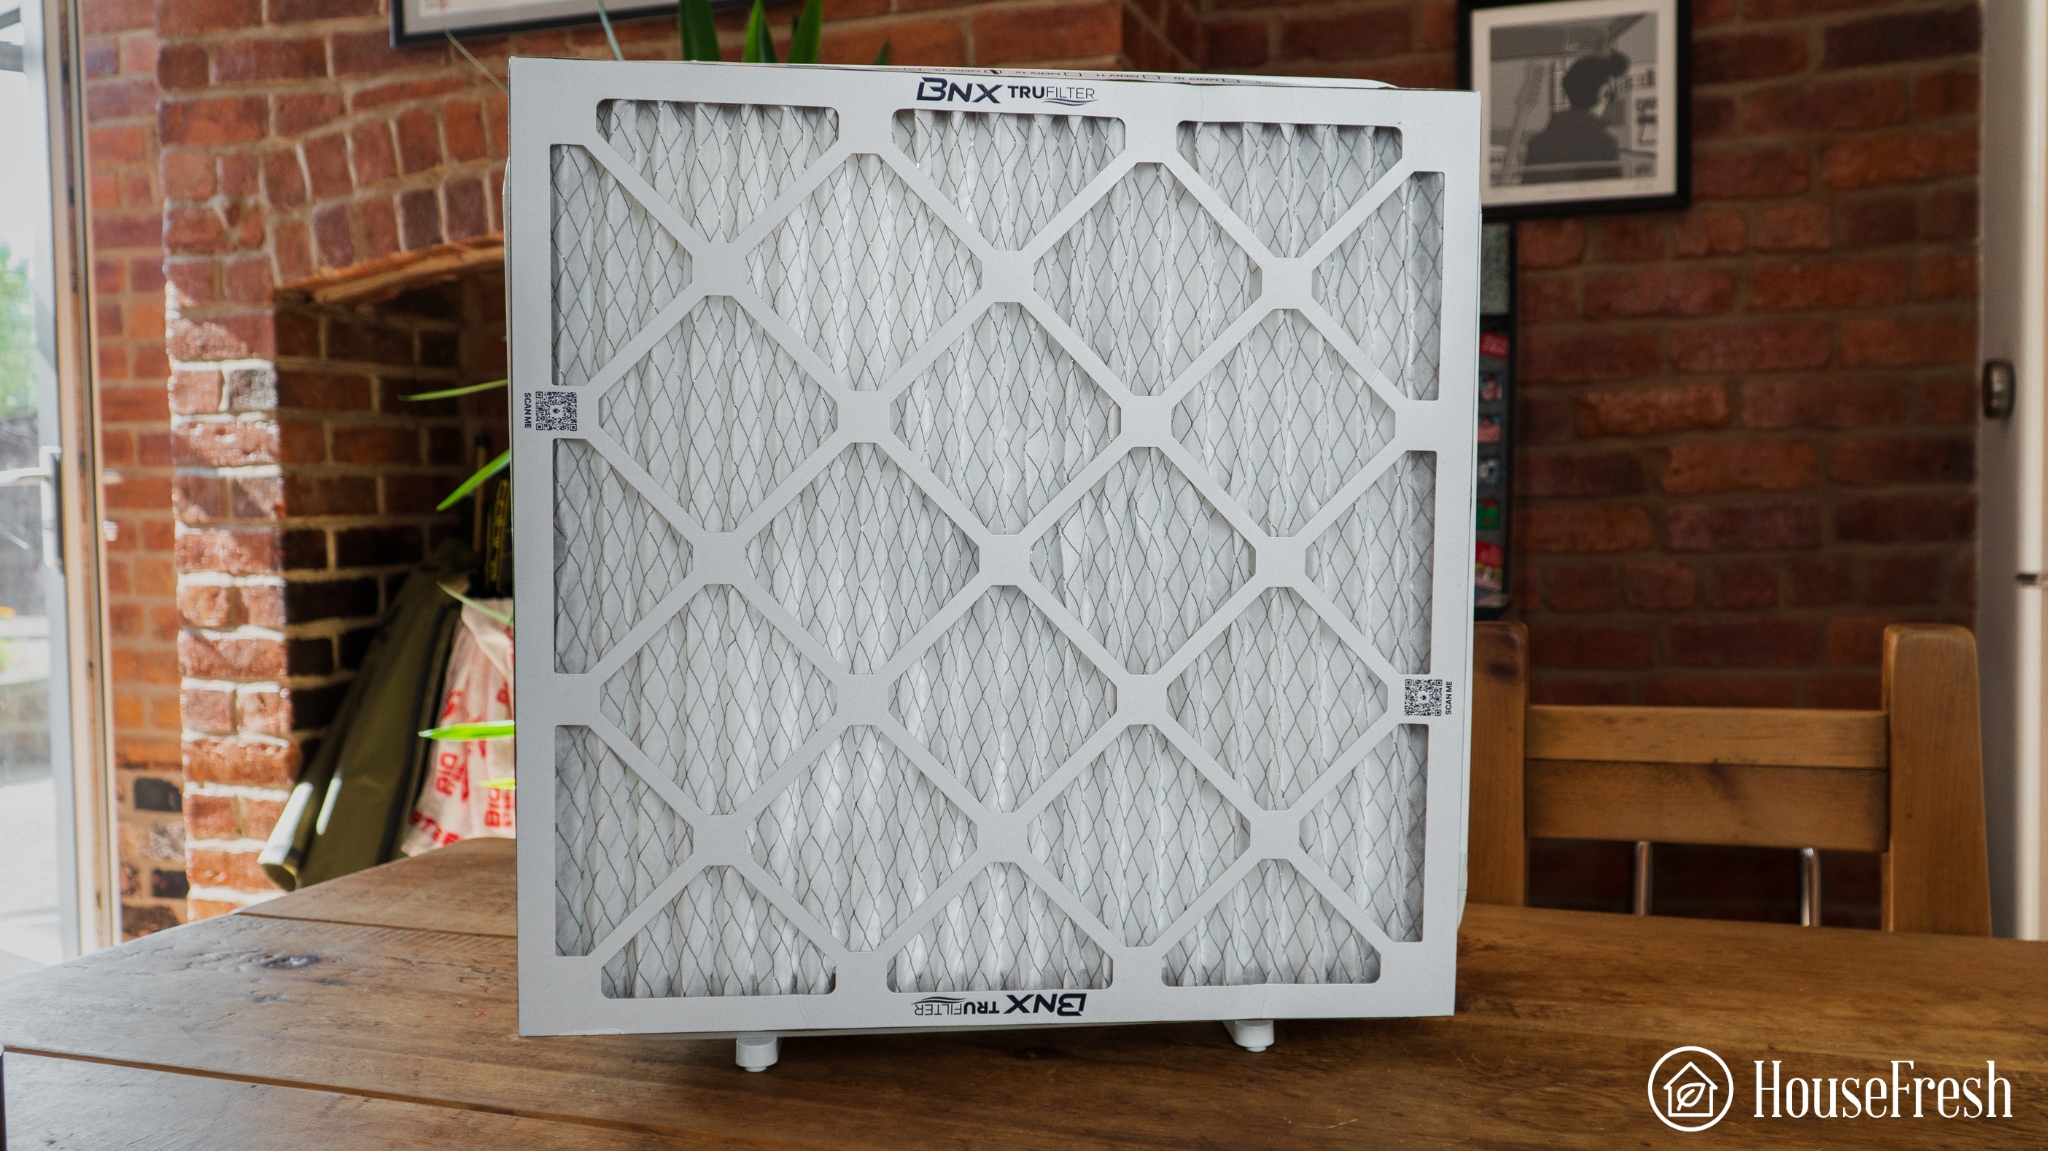
What is more, we have recently started testing DIY air purifier kits that use non-HEPA-grade HVAC filters, and we have been blown away by their performance! Both the Corsi-Rosenthal box and the Nukit Tempest use MERV 13 filters and outperform many HEPA-grade air purifiers we tested that cost much more.
So, don’t get caught up in whether an air purifier comes with True HEPA or H14 HEPA filter. Instead, pay attention to its CADR rating.
7. Don’t forget to check noise levels
If you are like me, you don’t want a noisy turbine running when you’re watching a movie, concentrating in your home office or, more importantly, when you’re trying to sleep.
That is why I always recommend paying attention to noise levels generated, as you are unlikely to want to use your air purifier all the time if it’s too noisy.
However, you need to be wary of manufacturer specifications because many brands will just state noise levels at the lowest fan speed, which, in the case of small air purifiers, is a fan speed that will take FOREVER to clean the air.
I have also been especially impressed by the new generation of DIY air purifiers that use PC fans. In our testing, we found that they perform much better than standard air purifiers running at a similar sound level and cost much less over the long term.
While they are not yet plug-and-play, if you are open to putting in the time to build them, you will end up with a device that cleans the air well at a much lower sound than you would get with a traditional air purifier.
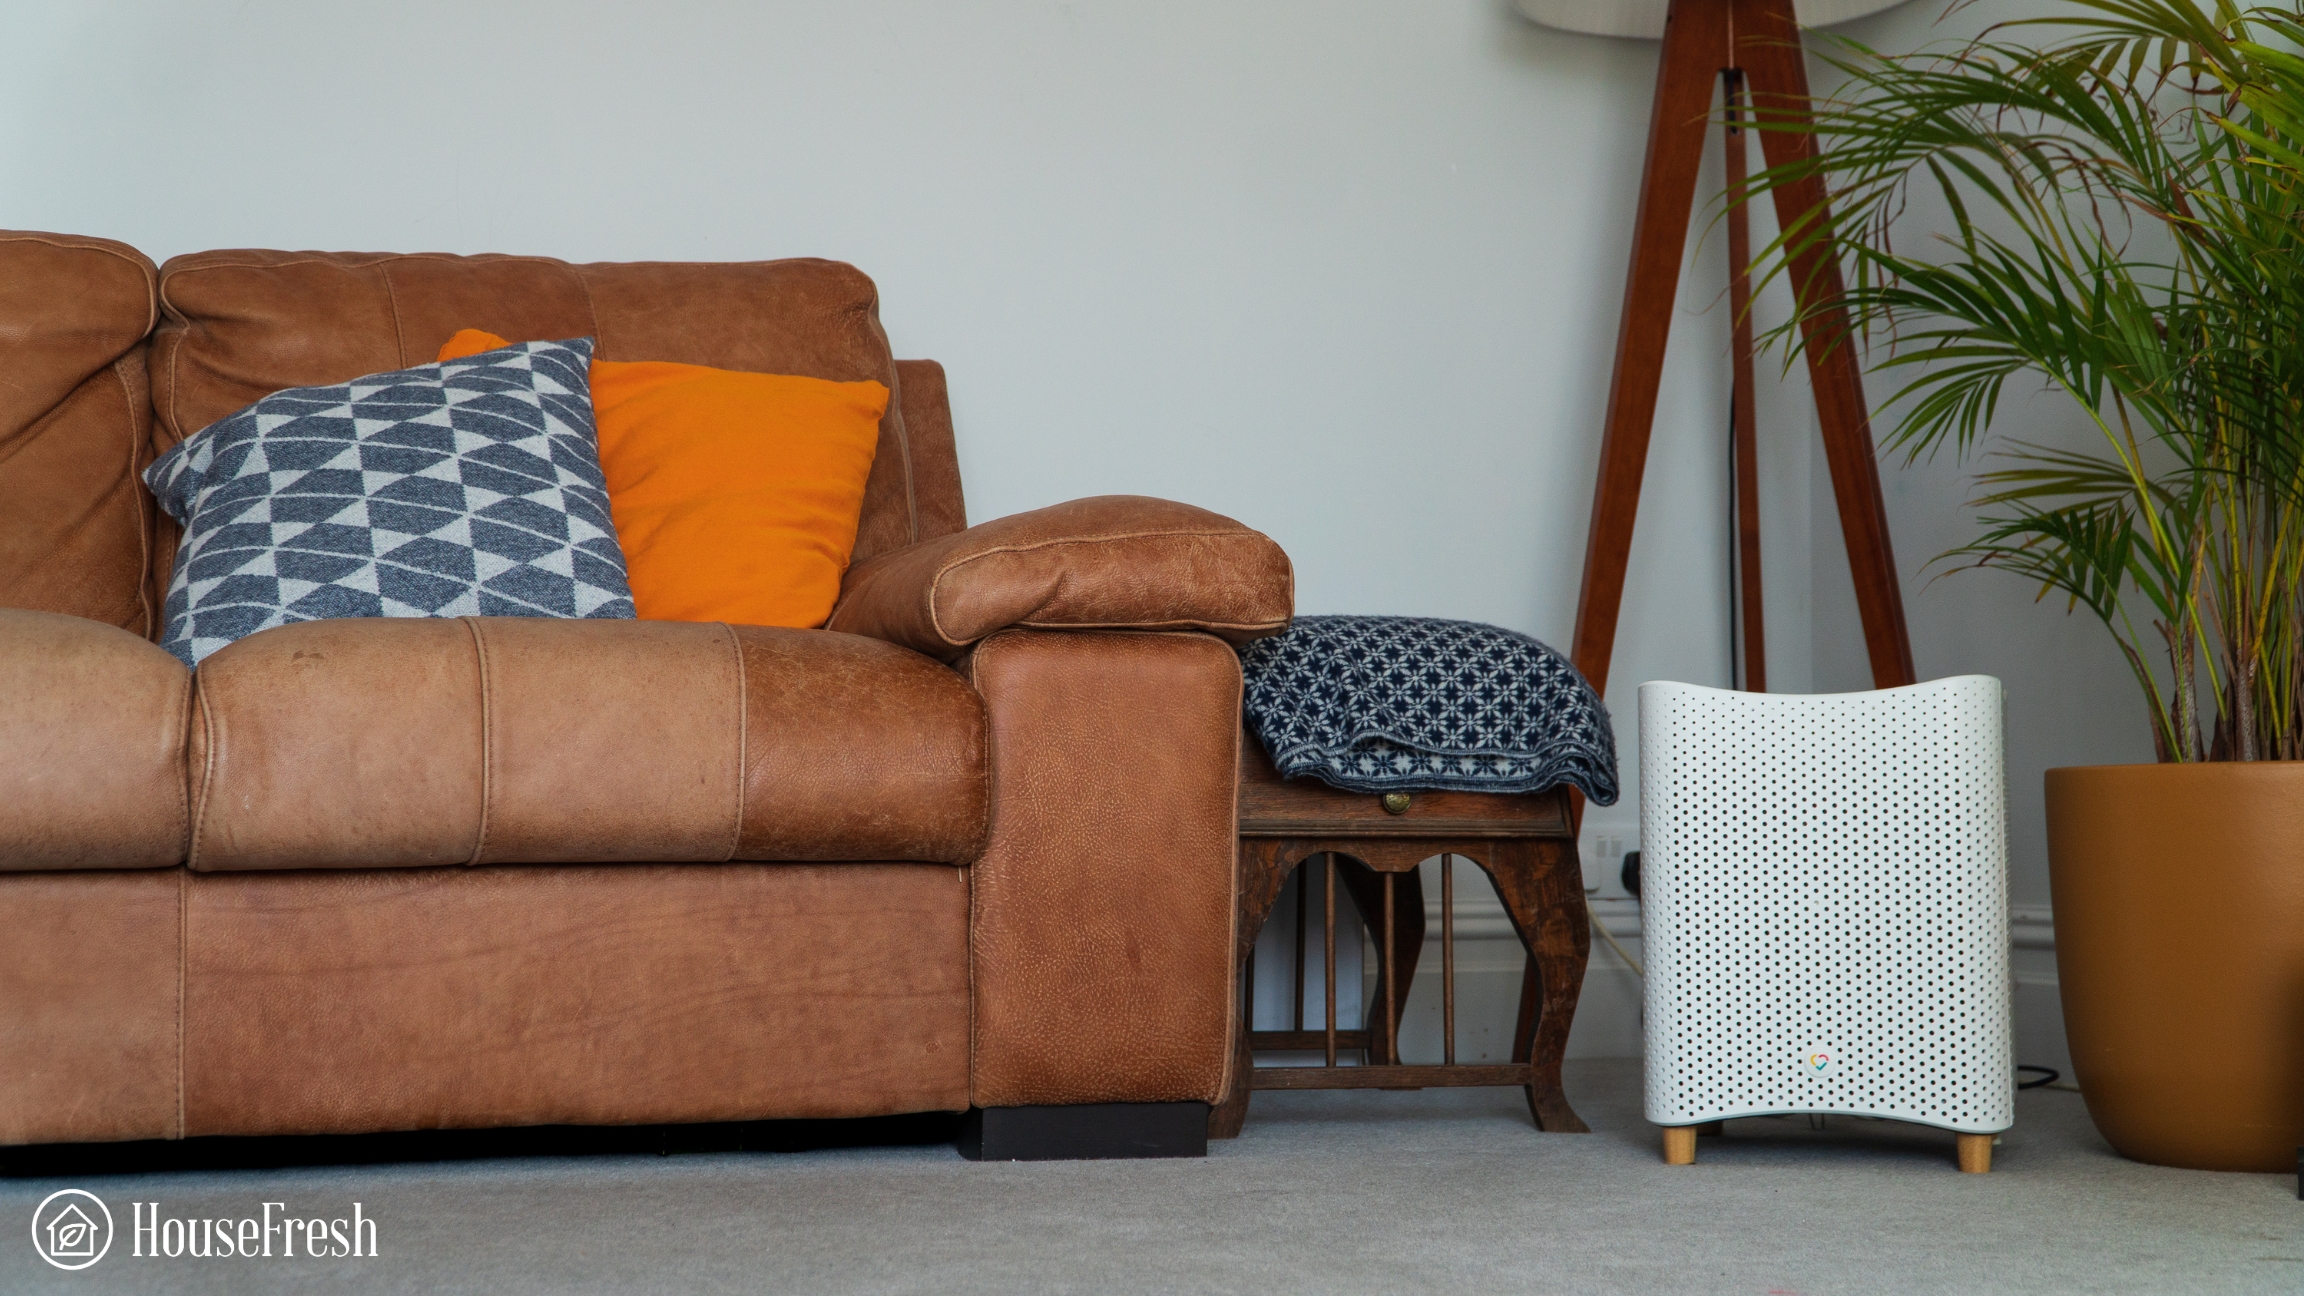
Some of the quietest shop-bought air purifiers we have tested are those produced by Smart Air, Levoit and Alen.
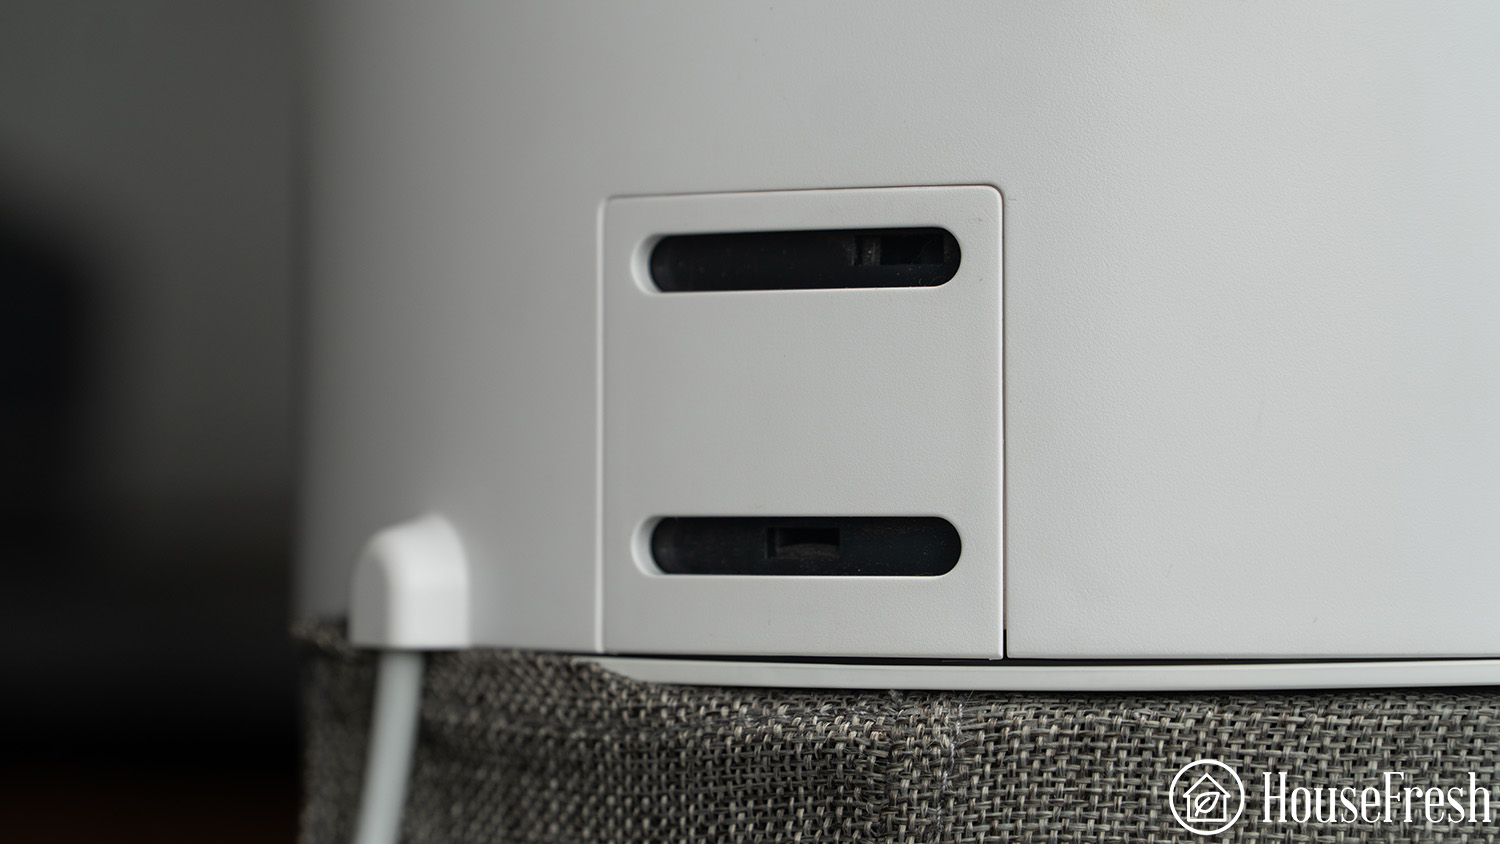
8. Decide if you want an ionizer
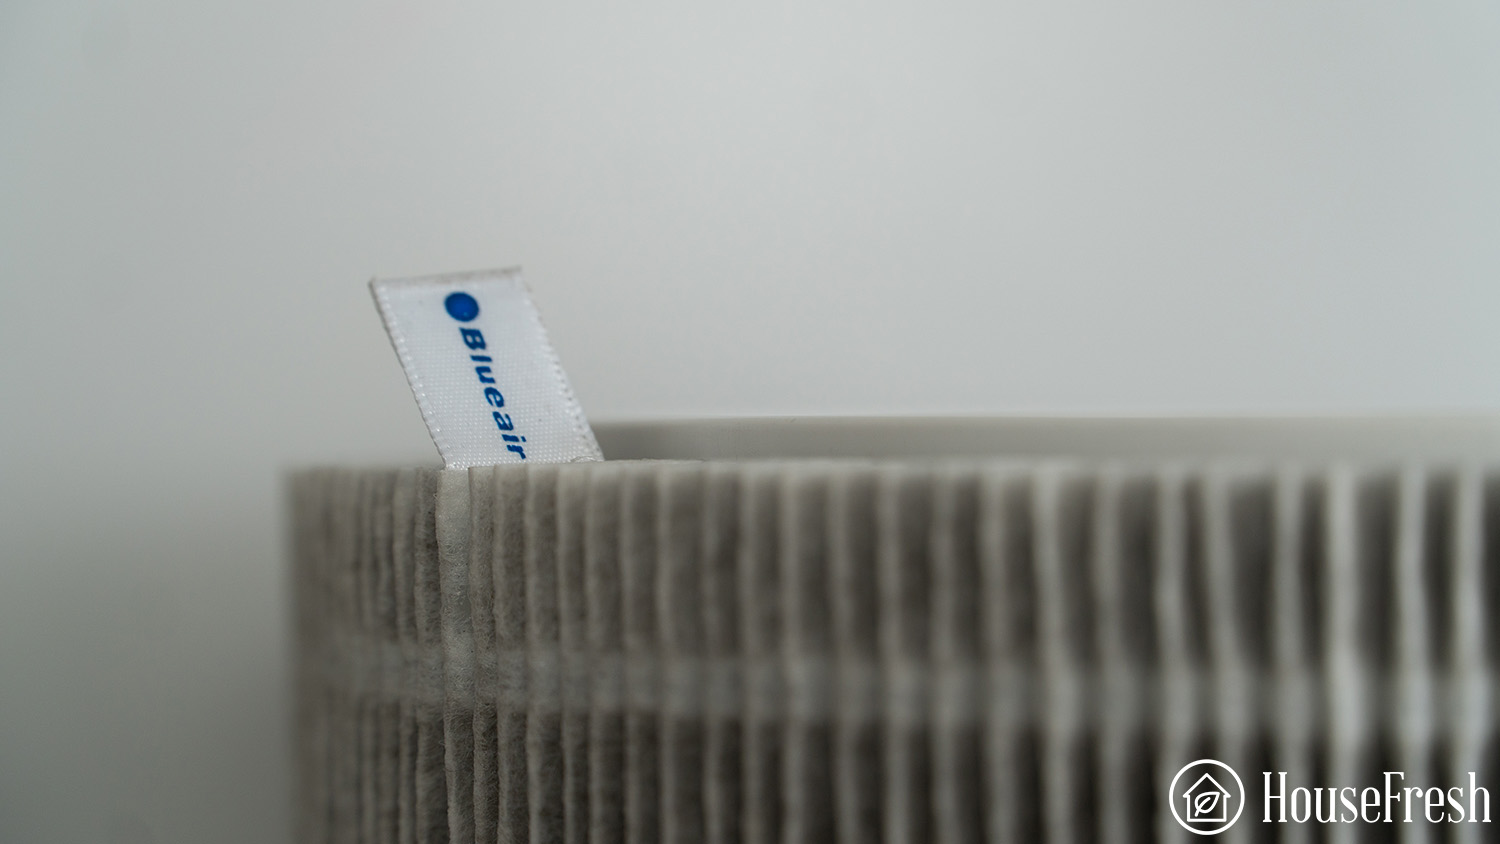
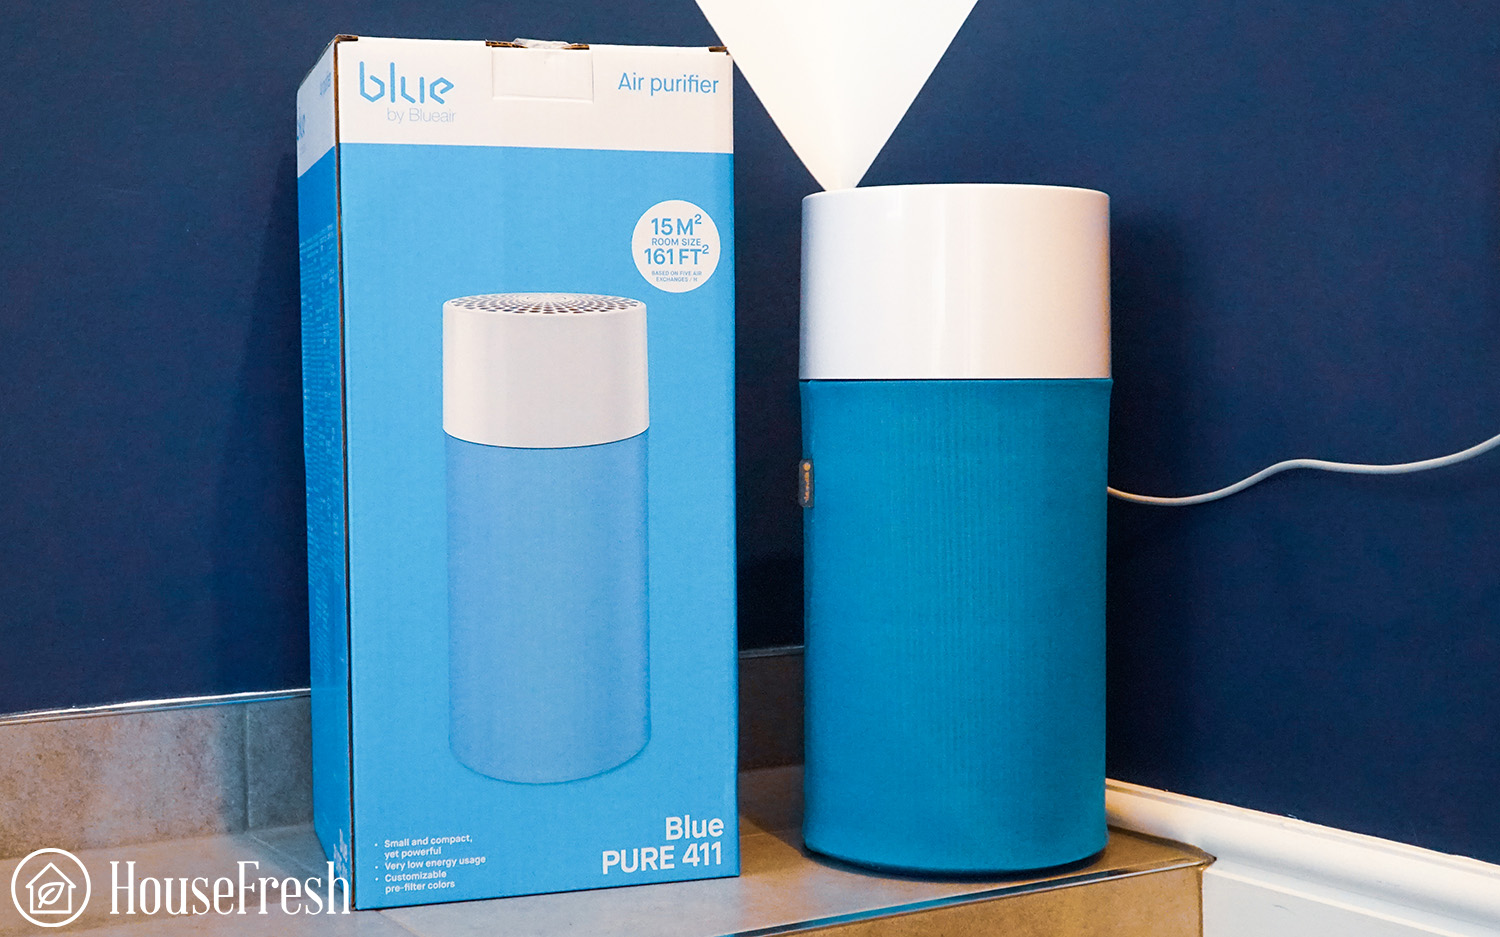
Ionizer air purifiers have a bad reputation after companies in the early 2000s sold devices like the Sharper Image Ionic Breeze, which was shown to lead to ozone and VOC build-up. Perhaps that’s why air purifier manufacturers have opted for renaming ionizer technology under different brandable terms such us PlasmaWave by Winix or HEPASIlent by Blueair.
The good news is that in 2010, the CARB certification was introduced in California to guarantee that new air purifiers with ionizers are being tested for ozone emissions. This means that modern air purifiers with ionizers shouldn’t emit ozone and make the quality of your air worse.
However, ionizers can lead to dust buildup around the air purifier and there are people who have sensitivities to negative ions. I have also received emails from multiple readers who found their respiratory issues getting worse after introducing an ionizer air purifier into their homes.
- If you want to choose a unit with an ionizer to boost the work of the filters, I recommend choosing a model with an on/off ionizer function. Manufacturers like WInix, Coway and Alen offer this.
- Blueair units don’t allow you to switch off the ionizer, so avoid Blueair devices if you believe negative ions could affect you.
9. You might not need smart features
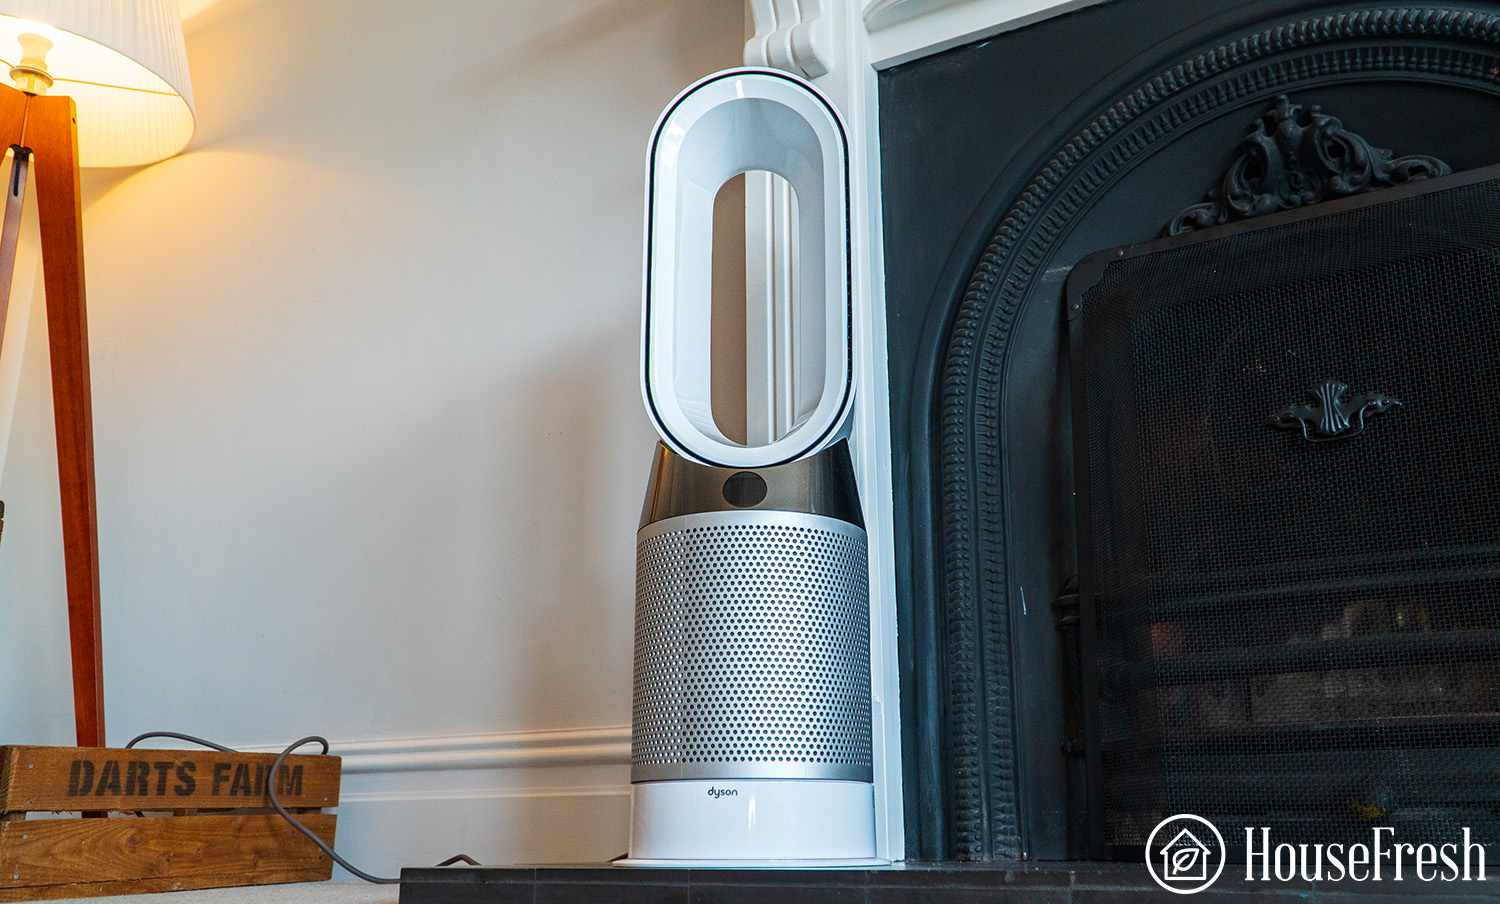
Modern air purifiers come with all sorts of bells and whistles and, in the majority of cases, these bells and whistles add up to the price.
Before buying a pricey smart unit with app support and all sort of modes, take some time to decide if you will truly need all those extra features.
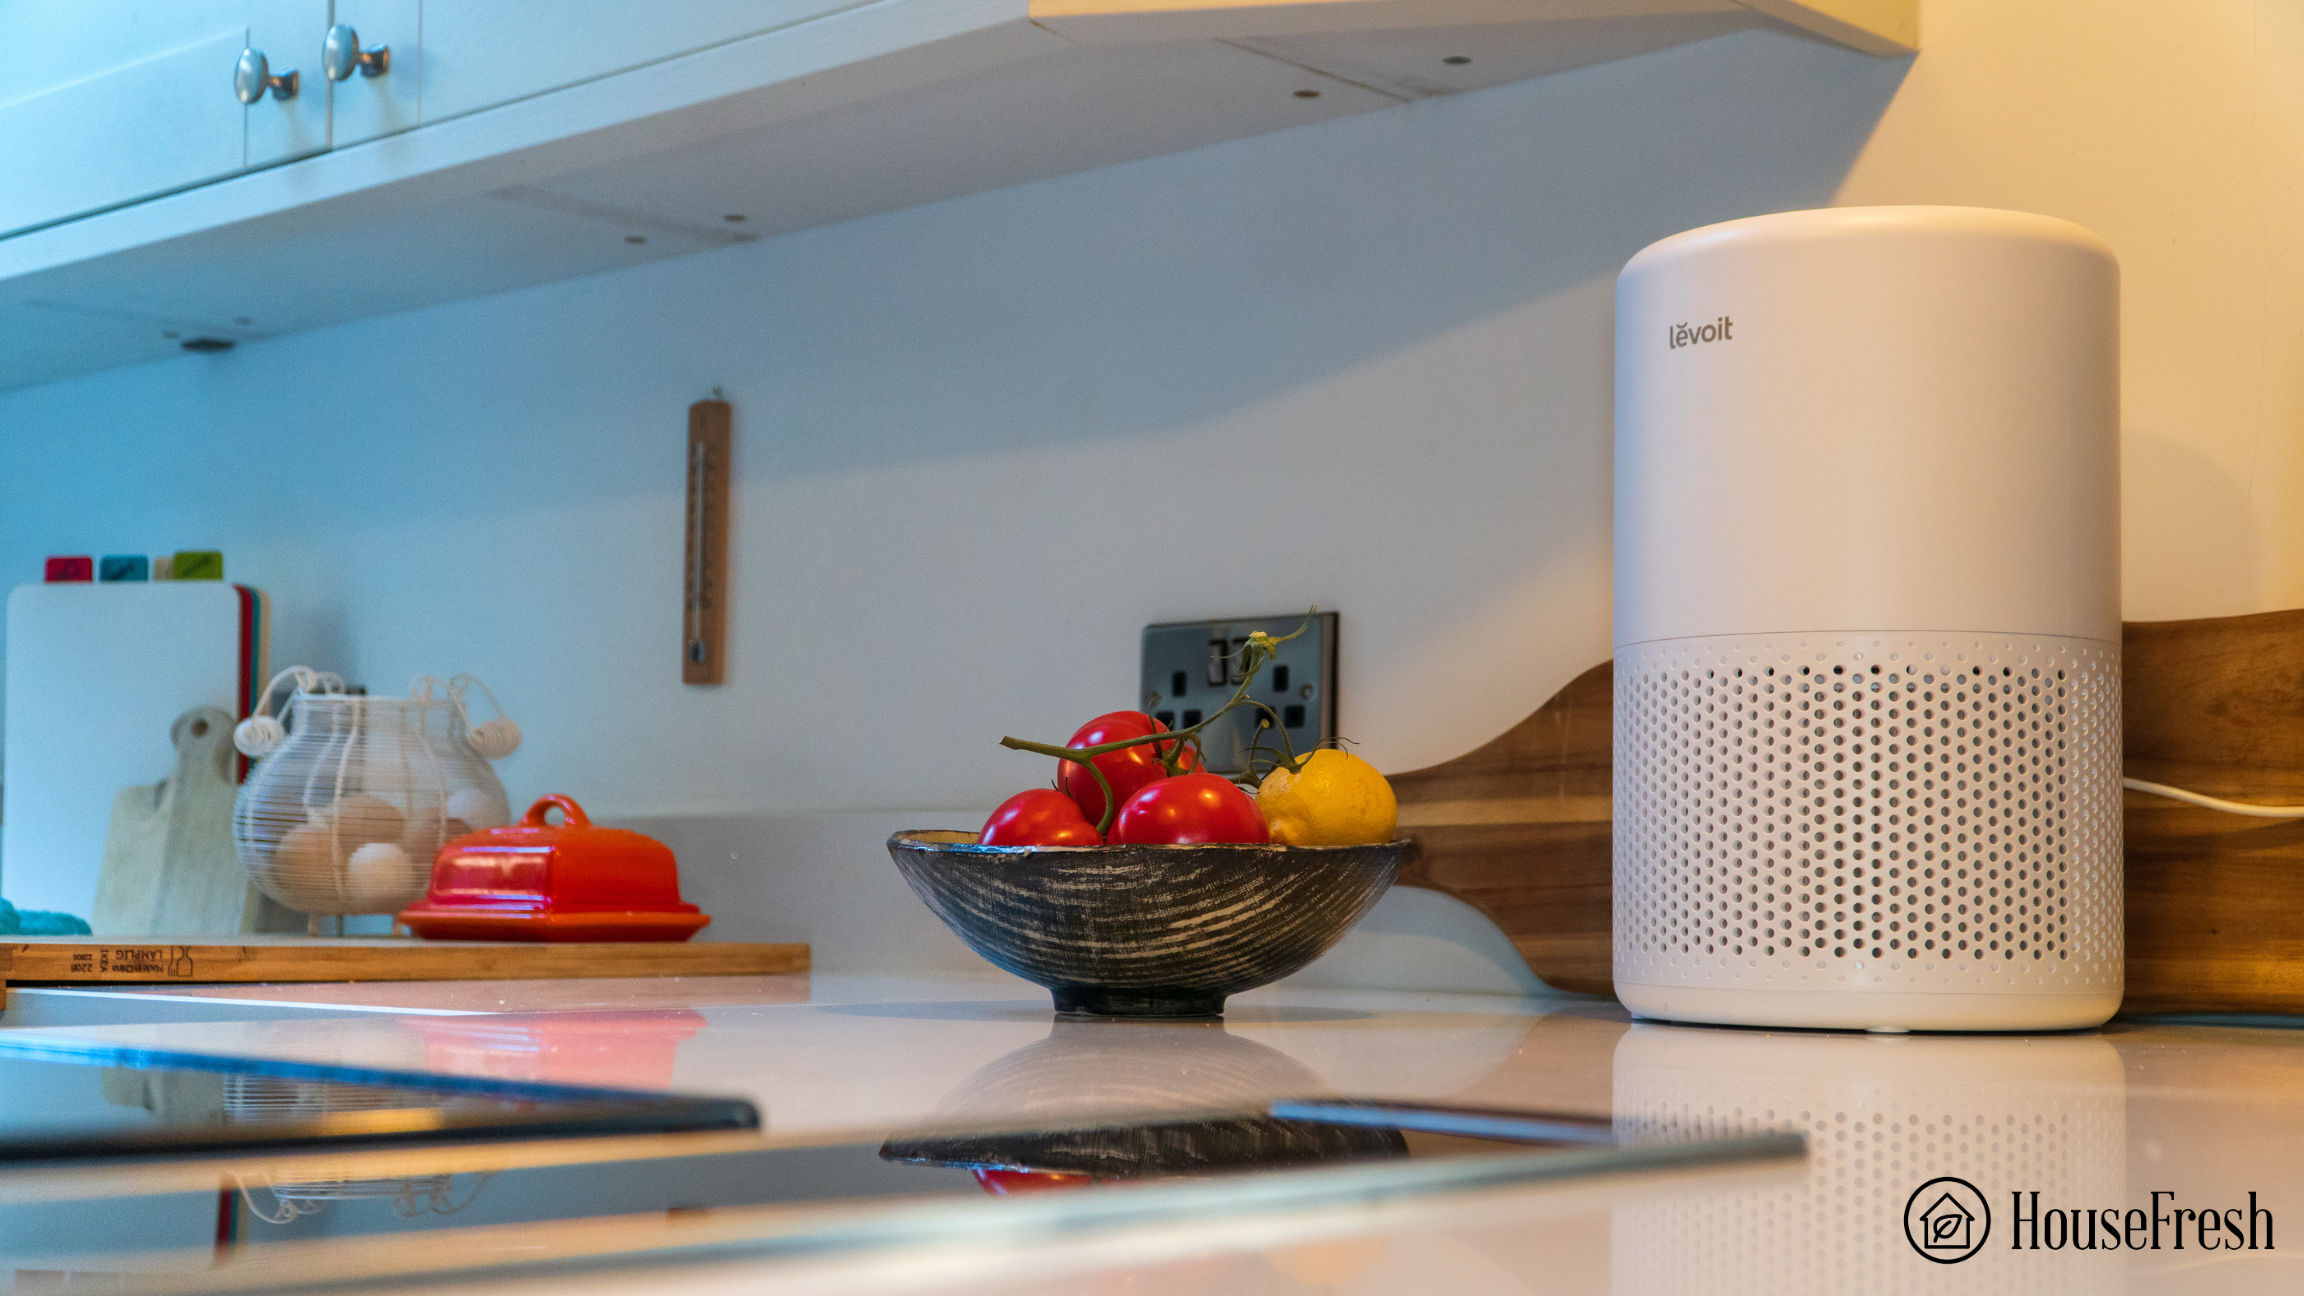
Features like auto-mode and scheduling can be useful in some situations and use cases. Personally, I prefer having an auto-mode in my kitchen air purifier, for example. But when dealing with serious issues such as outside pollution, you should keep your device running all the time, so these smart features are likely not worth paying extra for.
The same can be said for those wanting to tackle air quality issues related to wildfire smoke, allergies or reducing the risk of airborne transmission of viruses. In all those cases, you will want to keep your air purifier constantly running at a sound level that doesn’t create a problem.
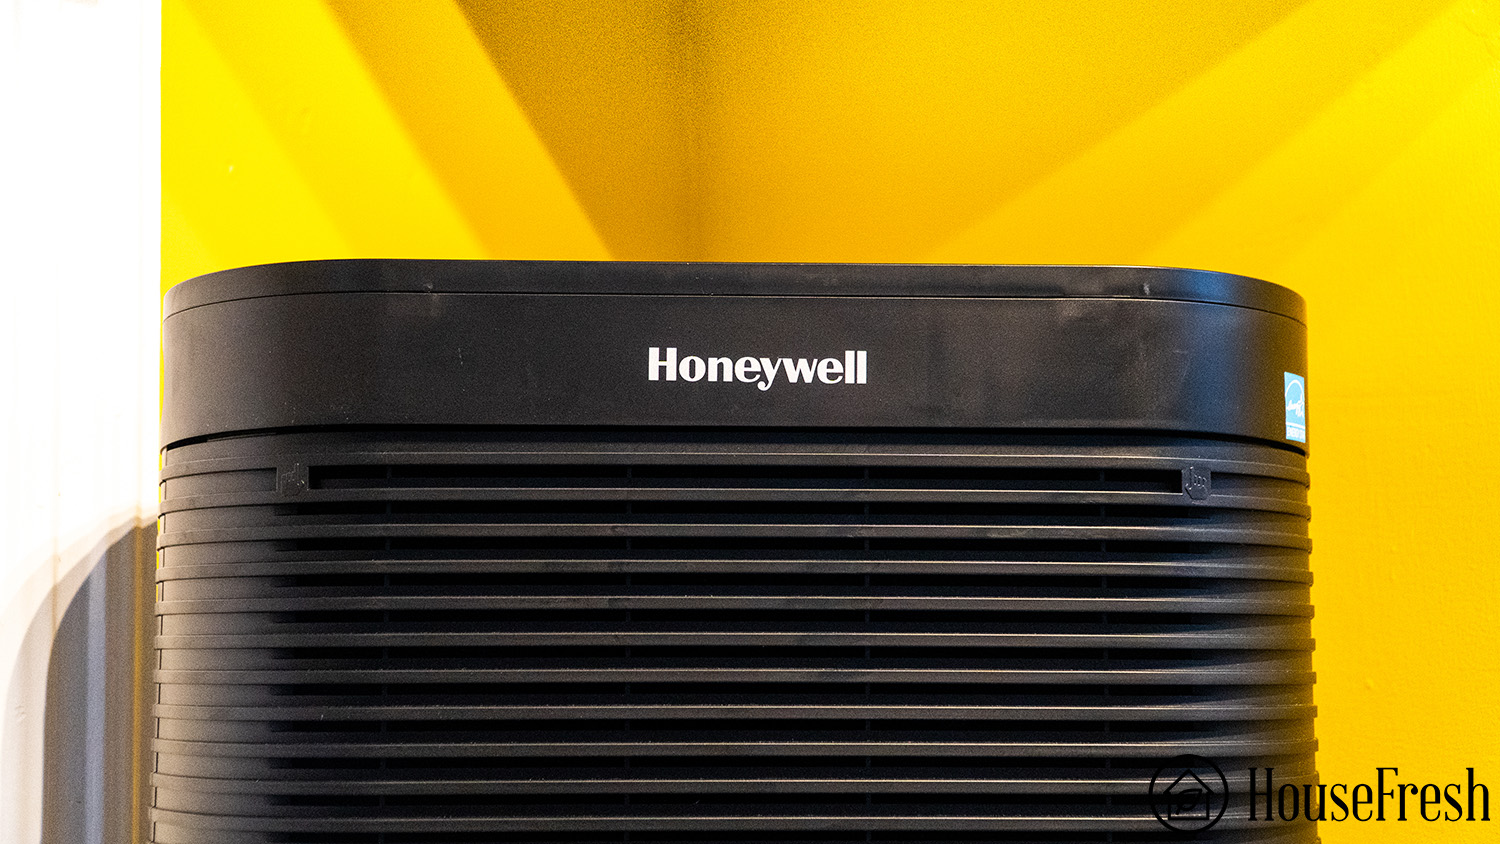
10. Stick to brands that have been around for a while
If you don’t want to build your own DIY device, a good rule of thumb is to stick to brands that have been around for a while.
Since 2020, many new brands have entered the market, promising the world, but many have failed to live up to the hype in our testing.
To make things simple, stick to long-standing brands like IQAir, Coway, Winix, Smart Air, Alen, Levoit, Austin Air and Honeywell. These brands have been making air purifiers for many years and are far less risky than one of the new brands that have yet to prove themselves.
Sadly, the fact that you can’t assess whether an air purifier is doing its job with your naked eye means that bad actors can get away with selling underpowered, overhyped devices that most consumers won’t realize are ineffective.
Final thoughts
I hope these tips help you choose the right air purifier for your specific situation and budget.
If I had to condense all these tips into just three key takeaways:
- Use the AHAM directory to find air purifiers that have been independently tested by them. Check the CADR and room size recommendation for 4.8 air changes per hour before you buy an air purifier.
- Don’t get caught up in whether a device comes with a HEPA filter or an activated carbon filter. There are many other effective particle filters besides HEPA, and you might not need activated carbon unless you are dealing with gases and VOCs.
- Get the biggest air purifier you can afford. You will be able to run it at lower fan speeds, and it will do a much better job than a small unit without generating a ton of noise.
If you want to know which specific models I think are the best this year, be sure to check out our list of the best air purifiers you can buy right now.
Let me know what you think, or share any other tips I missed in the comments below.